How to Schedule an Interview with a Candidate
Last updated: February 24, 2025
Interview scheduling is a critical step in any hiring process. It’s not just about finding a time that works for both the candidate and the interviewer—it’s about maintaining a seamless experience that reflects your company’s efficiency and respect for the candidate’s time. A well-organized interview schedule ensures that the hiring process moves forward smoothly, keeps candidates engaged, and helps your team stay aligned.
This guide covers Manual Scheduling and Self-Scheduling options so you can confidently manage candidate interviews.
Manual Scheduling
When a candidate reaches the interview stage, a Needs Scheduling button will appear on their tile in the Pipeline view for a specific job.
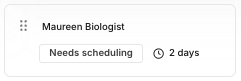
Click on Needs Scheduling. This will open a mini-window showing the interview specifics for the job stage.
Click on Schedule Interview and a dropdown will appear with two scheduling options:
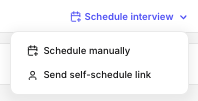
Select Schedule Manually. This will open a calendar where you can manually set the interview details.
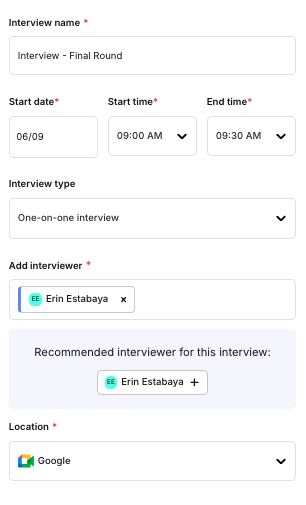
On the left, you'll see the "Interview Name" field, pre-filled based on the job's Interview Plan, but you can customize it if needed.
Click the Start Date field to open a date picker, and choose the date and time for the interview.
The interview duration will automatically populate based on the Interview Plan, but you can adjust the end time if necessary.
Kula will suggest the best interviewer based on their availability and workload. Simply click the suggested name, or use the "Add Interviewer" field to select another person from the dropdown.
You can modify the interview type (e.g., change from a one-on-one to a panel interview) and update the location if needed. These fields will be pre-filled based on the job's Interview Plan but can be edited.
Once the interview details are set, click Next: Email.
Review or customize the email templates for both the candidate and interviewer. Kula provides pre-loaded templates, but you can select different ones from your saved templates or edit them as needed.
Click Schedule to confirm the interview.
Self-Scheduling
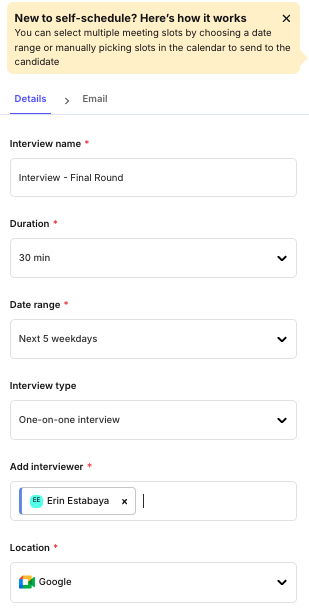
Instead of scheduling manually, choose this option from the scheduling dropdown. The calendar view will appear.
You can manually select multiple time slots from the interviewers' calendars, giving the candidate the flexibility to choose a time that works best for them.Note: Pay attention to the Range of Days field. By default, "Custom" is selected, allowing you to pick specific slots. You can also let Kula automatically suggest slots based on interviewer availability.
Click Next: Email to customize or review email templates for both the candidate and interviewer.
Once you’re satisfied, click Schedule to send the self-scheduling link to the candidate.