How to Manually Schedule an Interview with a Candidate
Last updated: April 11, 2025
Manually scheduling interviews ensures you have full control over the process and can tailor the experience to meet both candidate and interviewer needs.
Prepare the Interview Plan
Before scheduling, ensure you have a structured interview plan in place:
Define the number of interview rounds, their duration, and format (e.g., virtual, in-person, or hybrid).
Identify the interviewers and their roles for each stage.
Ensure all necessary resources (e.g., scorecards, templates, or interview questions) are ready.
Here's our guide on how to set up your Interview Plan.

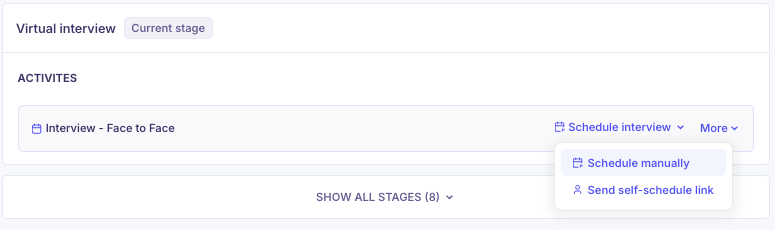
Here's an example of a Stage with an Interview activity.
Once the Interview Plan has been created and you have started to receive applicants, you can now begin to move Candidates to the Interview Stage.
Here's our step-by-step guide on how to manually schedule an interview with a Candidate:
Move the Candidate to the Interview Stage.
Communicate with the candidate to determine their availability. Be specific about dates and times rather than general preferences.
Click on the Candidate profile and the Schedule interview dropdown.
Click on the Schedule manually option.
A pop-up will show where you can select the following:
Start date
Start time
End time
Interview Type
One-on-one interview
Panel Interview
Add interviewer
Location
Once you have selected the Interviewer, you will then be able to see their Calendar. If you don’t see their calendar, they may need to connect it to Kula. Here's our guide on how to setup their account.
By selecting the Interviewer and selecting the Date, you can see all the available dates.

You can also change the Duration as well as the date and time manually by clicking on the edit icon.

Select a time that works for both the interviewer(s) and the candidate.

Click Next: Email to customize the message that will be sent to both the candidate and the interviewer.

Once the details are set, click Schedule to finalize the interview.