Set up and Manage your Offices
Last updated: April 10, 2026
Setting up Offices is as crucial as setting up Departments in Kula, as they are an essential element during a job setup. Through this, you are not only efficiently managing one of the key aspects of your company’s hiring process but also controlling how your prospective candidates see them on your career page. Additionally, they also play an important role in reporting purposes.
Add an office
Click on the Settings icon that is located at the very bottom of the left-side menu.
Under the Organization Settings section, click on Offices.
Click on the Add Office button that is located in the top right corner of the screen.
You can enter the below details.
Office Name: This is Mandatory
Location: You can search, select, and save precise office locations using Google Maps autocomplete. This provides greater accuracy and flexibility compared to manually entering city or state information.
Select the exact office location rather than only a city or region.
With this you can easily differentiate between multiple offices within the same city or geographic area.
Note: For the interview.onsite_location variable, a Google Maps link is now included, allowing candidates to click and navigate directly to the interview location with ease

Mark an office as your company's Headquarters by selecting the This is HQ checkbox.
Mark a location as remote-centric by selecting the This is remote checkbox.
Click on the Add button to complete the creation of an office location.
Add multiple offices in a location
To add more office locations under a country section, click the Add Office button in that section on the Offices homepage. Then, follow the previously outlined instructions to complete the setup.

Edit an Office
To edit and update office information, hover over the section on the Offices homepage and click the Edit icon. Make the necessary changes, then click the Update button to save.

Delete an Office
To delete an office location, hover over the section on the Offices homepage and click the Delete icon. You will then be prompted to either map the location to a new destination or complete the deletion without mapping.
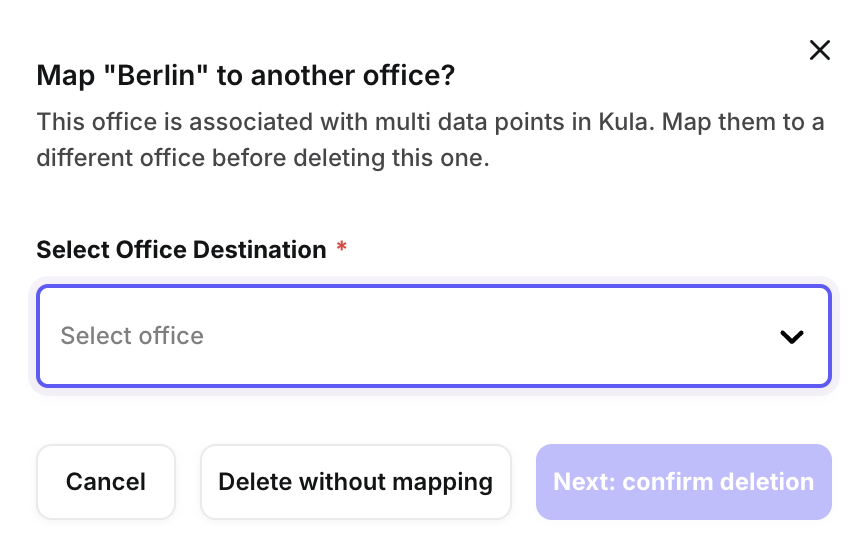
NOTE: These fields are associated with multiple data sets across your Kula environment; the general best practice is to map them to a new destination before deleting them to avoid any workflow breakage and any reporting errors.