Creating a requisition
Last updated: September 21, 2026
This article walks through the mechanics of creating a requisition in Kula — from scratch or by cloning — including the fields involved, what your options are when you're ready to publish, and what to check before you rely on them. For what a requisition actually is and how it fits into the overall hiring flow, see "What is a requisition?"
Who can do this: Creating a requisition needs the Create requisitions (manage requisitions created by self) permission, which Super Admins, Admins, Recruiters and Hiring Managers have by default (as do Department heads, where your account has that role). Manage all requisitions gives access to everyone's requisitions. Requisitions must be turned on for your account
Where to find it: Jobs & Requisitions → Requisitions tab → Create requisition, in the top right corner.
How to create
Go to Jobs & Requisitions → Requisitions, and click Create Requisition.
Fill in the requisition's fields. The default set includes Role, Department, Office, Work Type, Salary range, Recruiter, Hiring Manager, key dates (like target hire date and target start date), Requisition Type, and Headcount — plus any custom fields your account has added.
Choose a Requisition Type: New Hire or Replacement/Backfill. This is a single-select field — a requisition can only be one type, even if its headcount covers more than one opening (see "Requisition Type applies to the whole requisition" below).
Set Headcount if you're opening more than one identical position at once — this automatically creates a linked Requisition Group rather than a single record (covered in more depth in "What is a requisition?").
Mark the requisition Confidential if it should only be visible to permitted users.
Save as Draft to come back to it later, or publish it — what publishing does next depends on whether your account has approvals configured (see below).
What happens when you publish
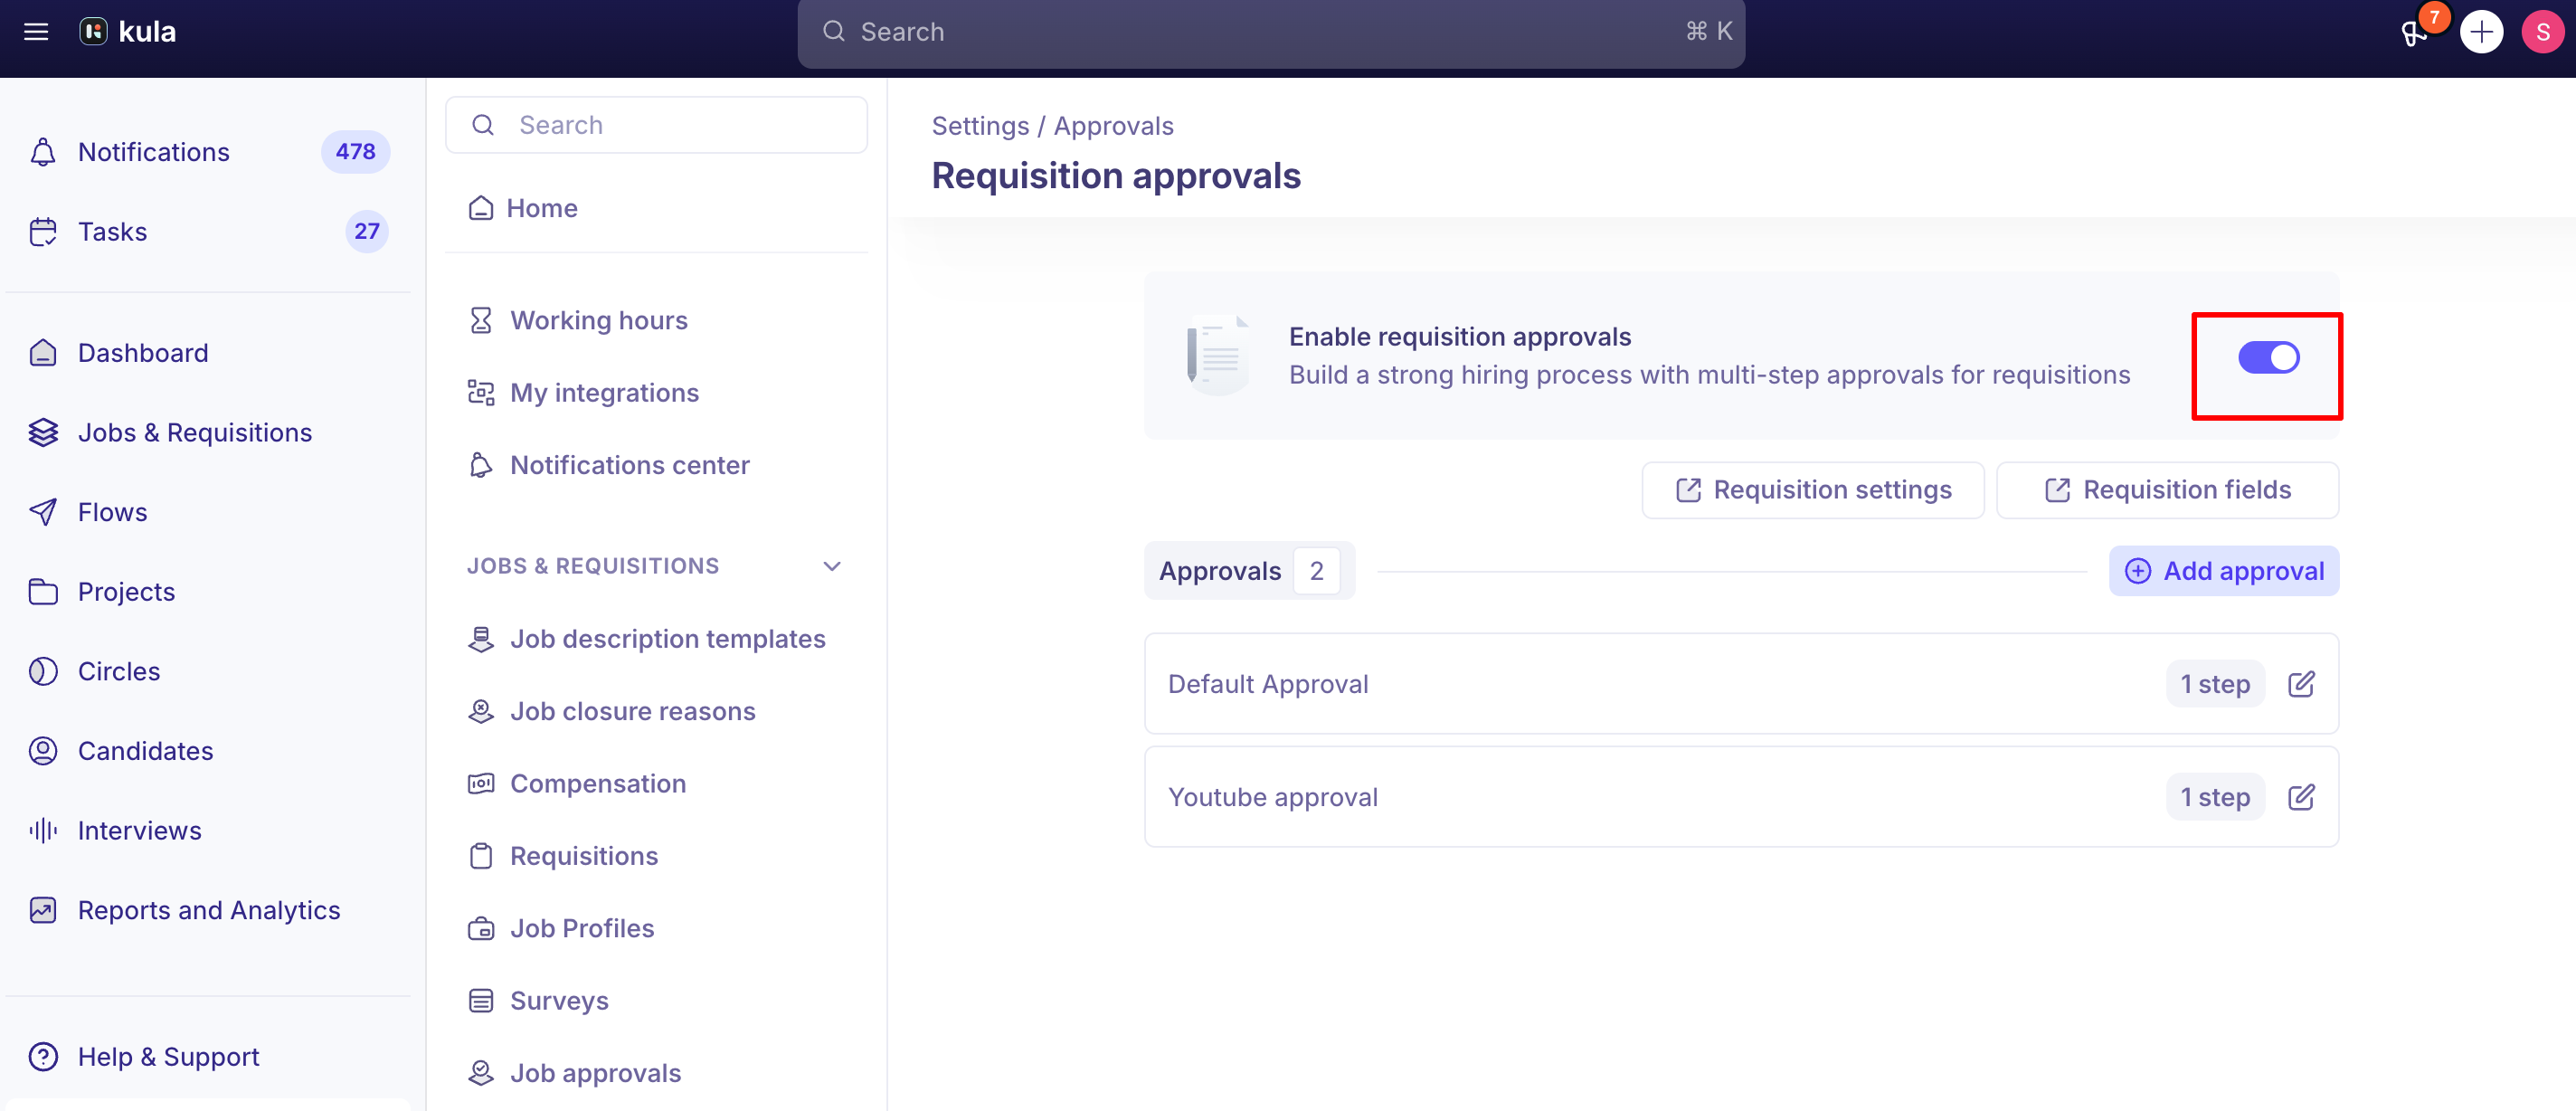
If approval workflows are enabled: publishing sends the requisition for approval. You can additionally choose to have it open automatically once approved, rather than requiring a separate manual step to open it.
If approval workflows are disabled: publishing either opens the requisition immediately, or creates it in a Ready to Open state, depending on your configuration.
Either way, the requisition can be used for offers once it is Approved, Ready to open or Open.
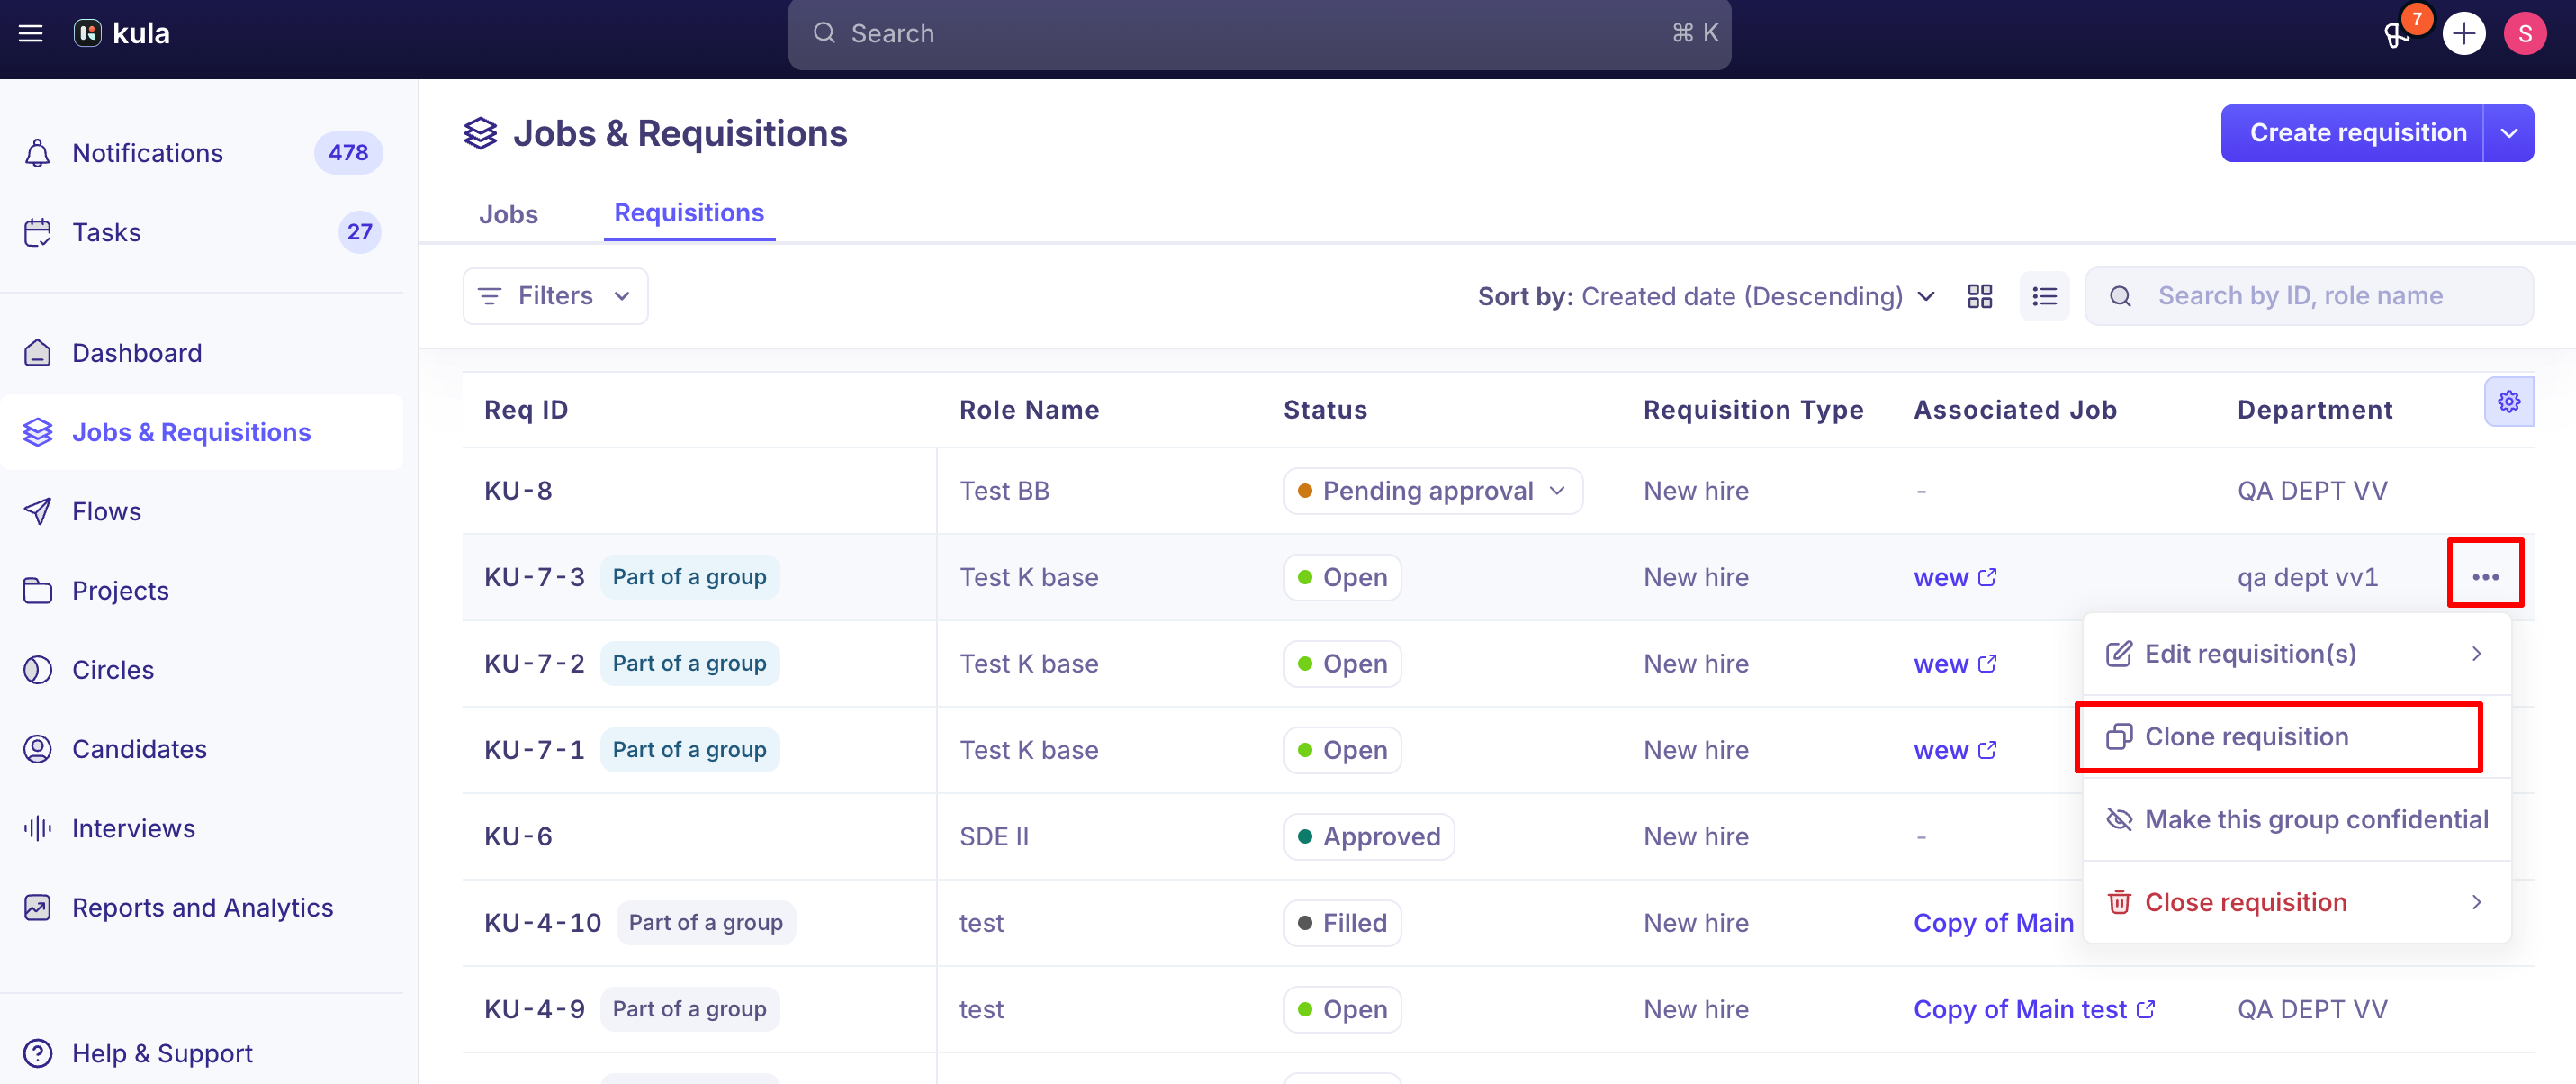
Creating a requisition by cloning
Cloning an existing requisition copies its field values over, including custom fields, so you don't have to rebuild a similar requisition from scratch.
Requisition Type applies to the whole requisition
Requisition Type (New Hire vs. Replacement) is set once per requisition, not per headcount slot. If you're opening a requisition with a headcount of 2 and one opening is genuinely a new hire while the other is backfilling a departure, that can't be represented within a single requisition — you'll need two separate requisitions, each with the correct type and its own headcount.
Field visibility and scoping
Both default and custom requisition fields can be marked required, optional, or hidden from Settings → Requisition Fields, and can be reordered via drag-and-drop.
Custom fields can also be scoped to specific departments or offices — for example, a variable-compensation field relevant only to Sales roles can be configured to appear only on requisitions for the Sales department, rather than cluttering every requisition form.
Good to know
Requisition Type is one value per requisition, not per headcount.
Maximum salary must exceed minimum salary, or the requisition form will block saving.
Custom fields can be department- or office-scoped, so different teams only see the fields relevant to them on the requisition form.
Once an offer tied to a requisition is accepted by the candidate, that requisition association is permanently locked — it cannot be swapped for a different requisition, even by support, so double-check the right requisition is linked before an offer reaches that point.
You can preview what the requisition form looks like before, and reorder fields via drag-and-drop in Settings.
FAQ
Where do I go to create a new requisition? Jobs & Requisitions → Requisitions tab → Create requisition, in the top right corner.
What's the difference between saving as a draft and publishing? A draft isn't submitted anywhere and can be edited freely. Publishing either sends the requisition for approval (if your account has approvals configured) or opens/creates it directly (if not) — see "What happens when you publish" above.
I cloned a requisition — did my custom field values carry over? Yes. Cloning copies the requisition's field values, including custom fields.
Can one requisition be part New Hire and part Replacement across its headcount? No — Requisition Type is a single value per requisition. If you need a mix, create separate requisitions with the correct type for each.
A candidate accepted an offer that's tied to the wrong requisition — can I fix the association? No. Once an offer is accepted, the requisition it's tied to can't be changed, even through support. Confirm the requisition is correct before the candidate accepts.
Why does my requisition form show extra fields for some roles but not others? Custom fields can be scoped to specific departments or offices, so they only appear on requisitions for the roles they're relevant to.
Need help?
If you have questions or need assistance, reach out to us at support@kula.ai or use the in-app chat.