Setting up e-signature
Last updated: September 14, 2026
Kula sends offers out for e-signature through three providers — DocuSign, Adobe Sign, and PandaDoc — connected under Settings → Integrations → E-Signature. The core flow is the same across all three: pick whether a company signer is required and in what order, send, and track status from the offer. What you can customize along the way differs by provider.
Who can do this: Connecting a provider requires Admin or Super Admin. Sending an offer for signature is available to anyone with access to that candidate's offer.
Where to find it: Connect under Settings → Integrations → E-Signature. Send from the candidate's Offer stage, in the email composer before you send it for signature.
Signing offers with DocuSign
Send an offer straight into DocuSign for the candidate — and, if you need one, a company signer — to sign electronically. This article covers connecting DocuSign and sending an offer through it.
Who can do this: Recruiter, Hiring Manager send offers. Super Admin, Admin connect DocuSign and set the default signing settings.
Where to find it: Candidates → open a candidate's application → Current job tab → Offer → Send with DocuSign. To connect: Settings → Organisation Integrations → Docusign
Connect DocuSign
Go to Settings → Organisation Integrations → Docusign.
Click Connect and sign in to authorise Kula from your DocuSign account.
Set your default signing details
Admins can set organisation-wide defaults from the Docusign Offer Settings drawer — whether anyone from the employer needs to sign, who that company signer is, and the order of signing. Recruiters can still adjust these on an individual offer when they send it.
Send an offer with DocuSign
The offer must already be approved
Open the approved offer and choose Send with DocuSign.
Write your message. DocuSign is the only provider that lets you write a separate message for the candidate, the company signer, and anyone you copy in — turn on Custom email for each recipient if you want that.
Choose who gets a copy of the signed offer, if anyone.
Click Send.
The DocuSign offer send form, with the message editor, a toggle for a custom email per recipient, and a field for choosing who gets a copy of the signed offer."
Preview before you send
If your organisation has DocuSign preview turned on, you can review the envelope inside DocuSign itself before it goes out.
Click Preview on Docusign instead of Send.
Kula opens DocuSign so you can check the document and signature placement. By default you can look but not edit; your organisation can allow full editing here if they choose.
Go back to Kula to actually send it once you're happy.
Good to know
If you schedule a send for later inside DocuSign, Kula shows "Scheduled on Docusign" with the date and time on the offer.
A company signer who is also the person sending the offer can't decline in DocuSign — they can only void the envelope.
Your offer letter template needs DocuSign's own tokens (like {{docusign.candidate_signature}}) for signature and date fields to work.
Signing offers with AdobeSign
Send an offer straight into Adobe Sign for the candidate — and, if you need one, a company signer — to sign electronically. This article covers connecting Adobe Sign and sending an offer through it.
Who can do this: Recruiter, Hiring Manager send offers. Super Admin, Admin connect Adobe Sign.
Where to find it: Candidates → open a candidate's application → Current job tab → Offer → Send with Adobe Sign.
To connect: Settings → Organisation → Integrations → Adobe Sign
Connect Adobe Sign
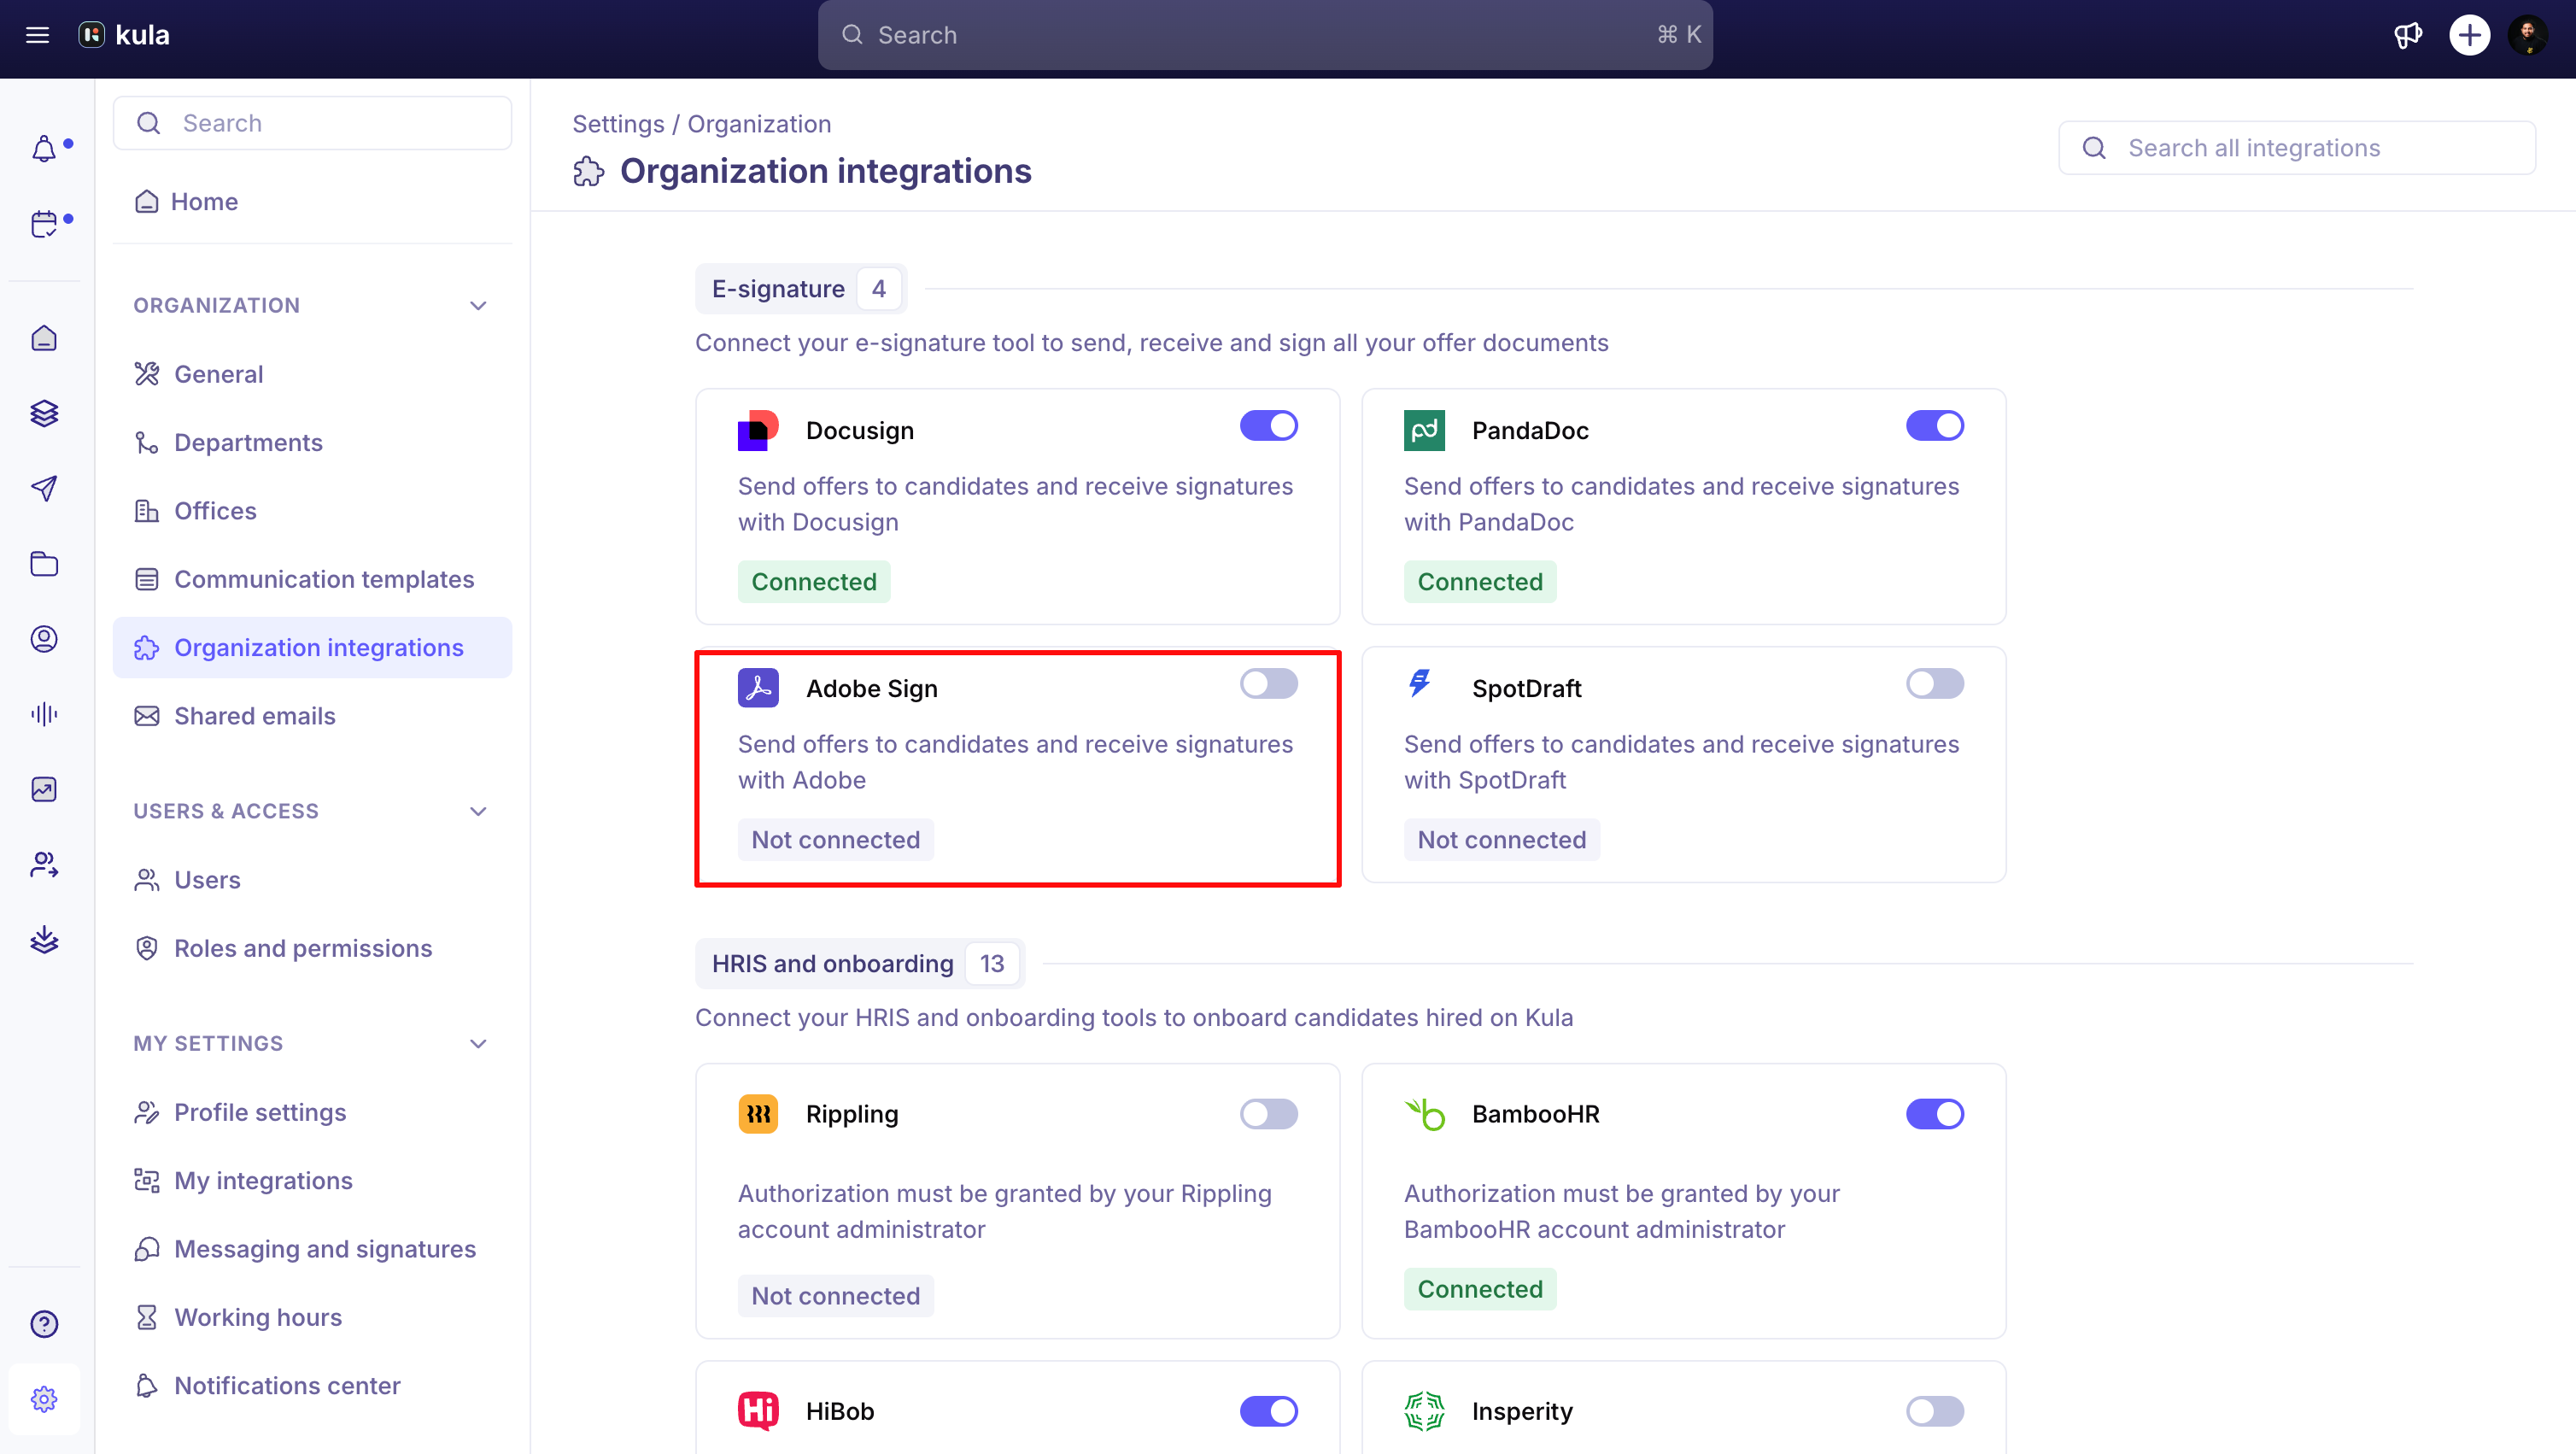
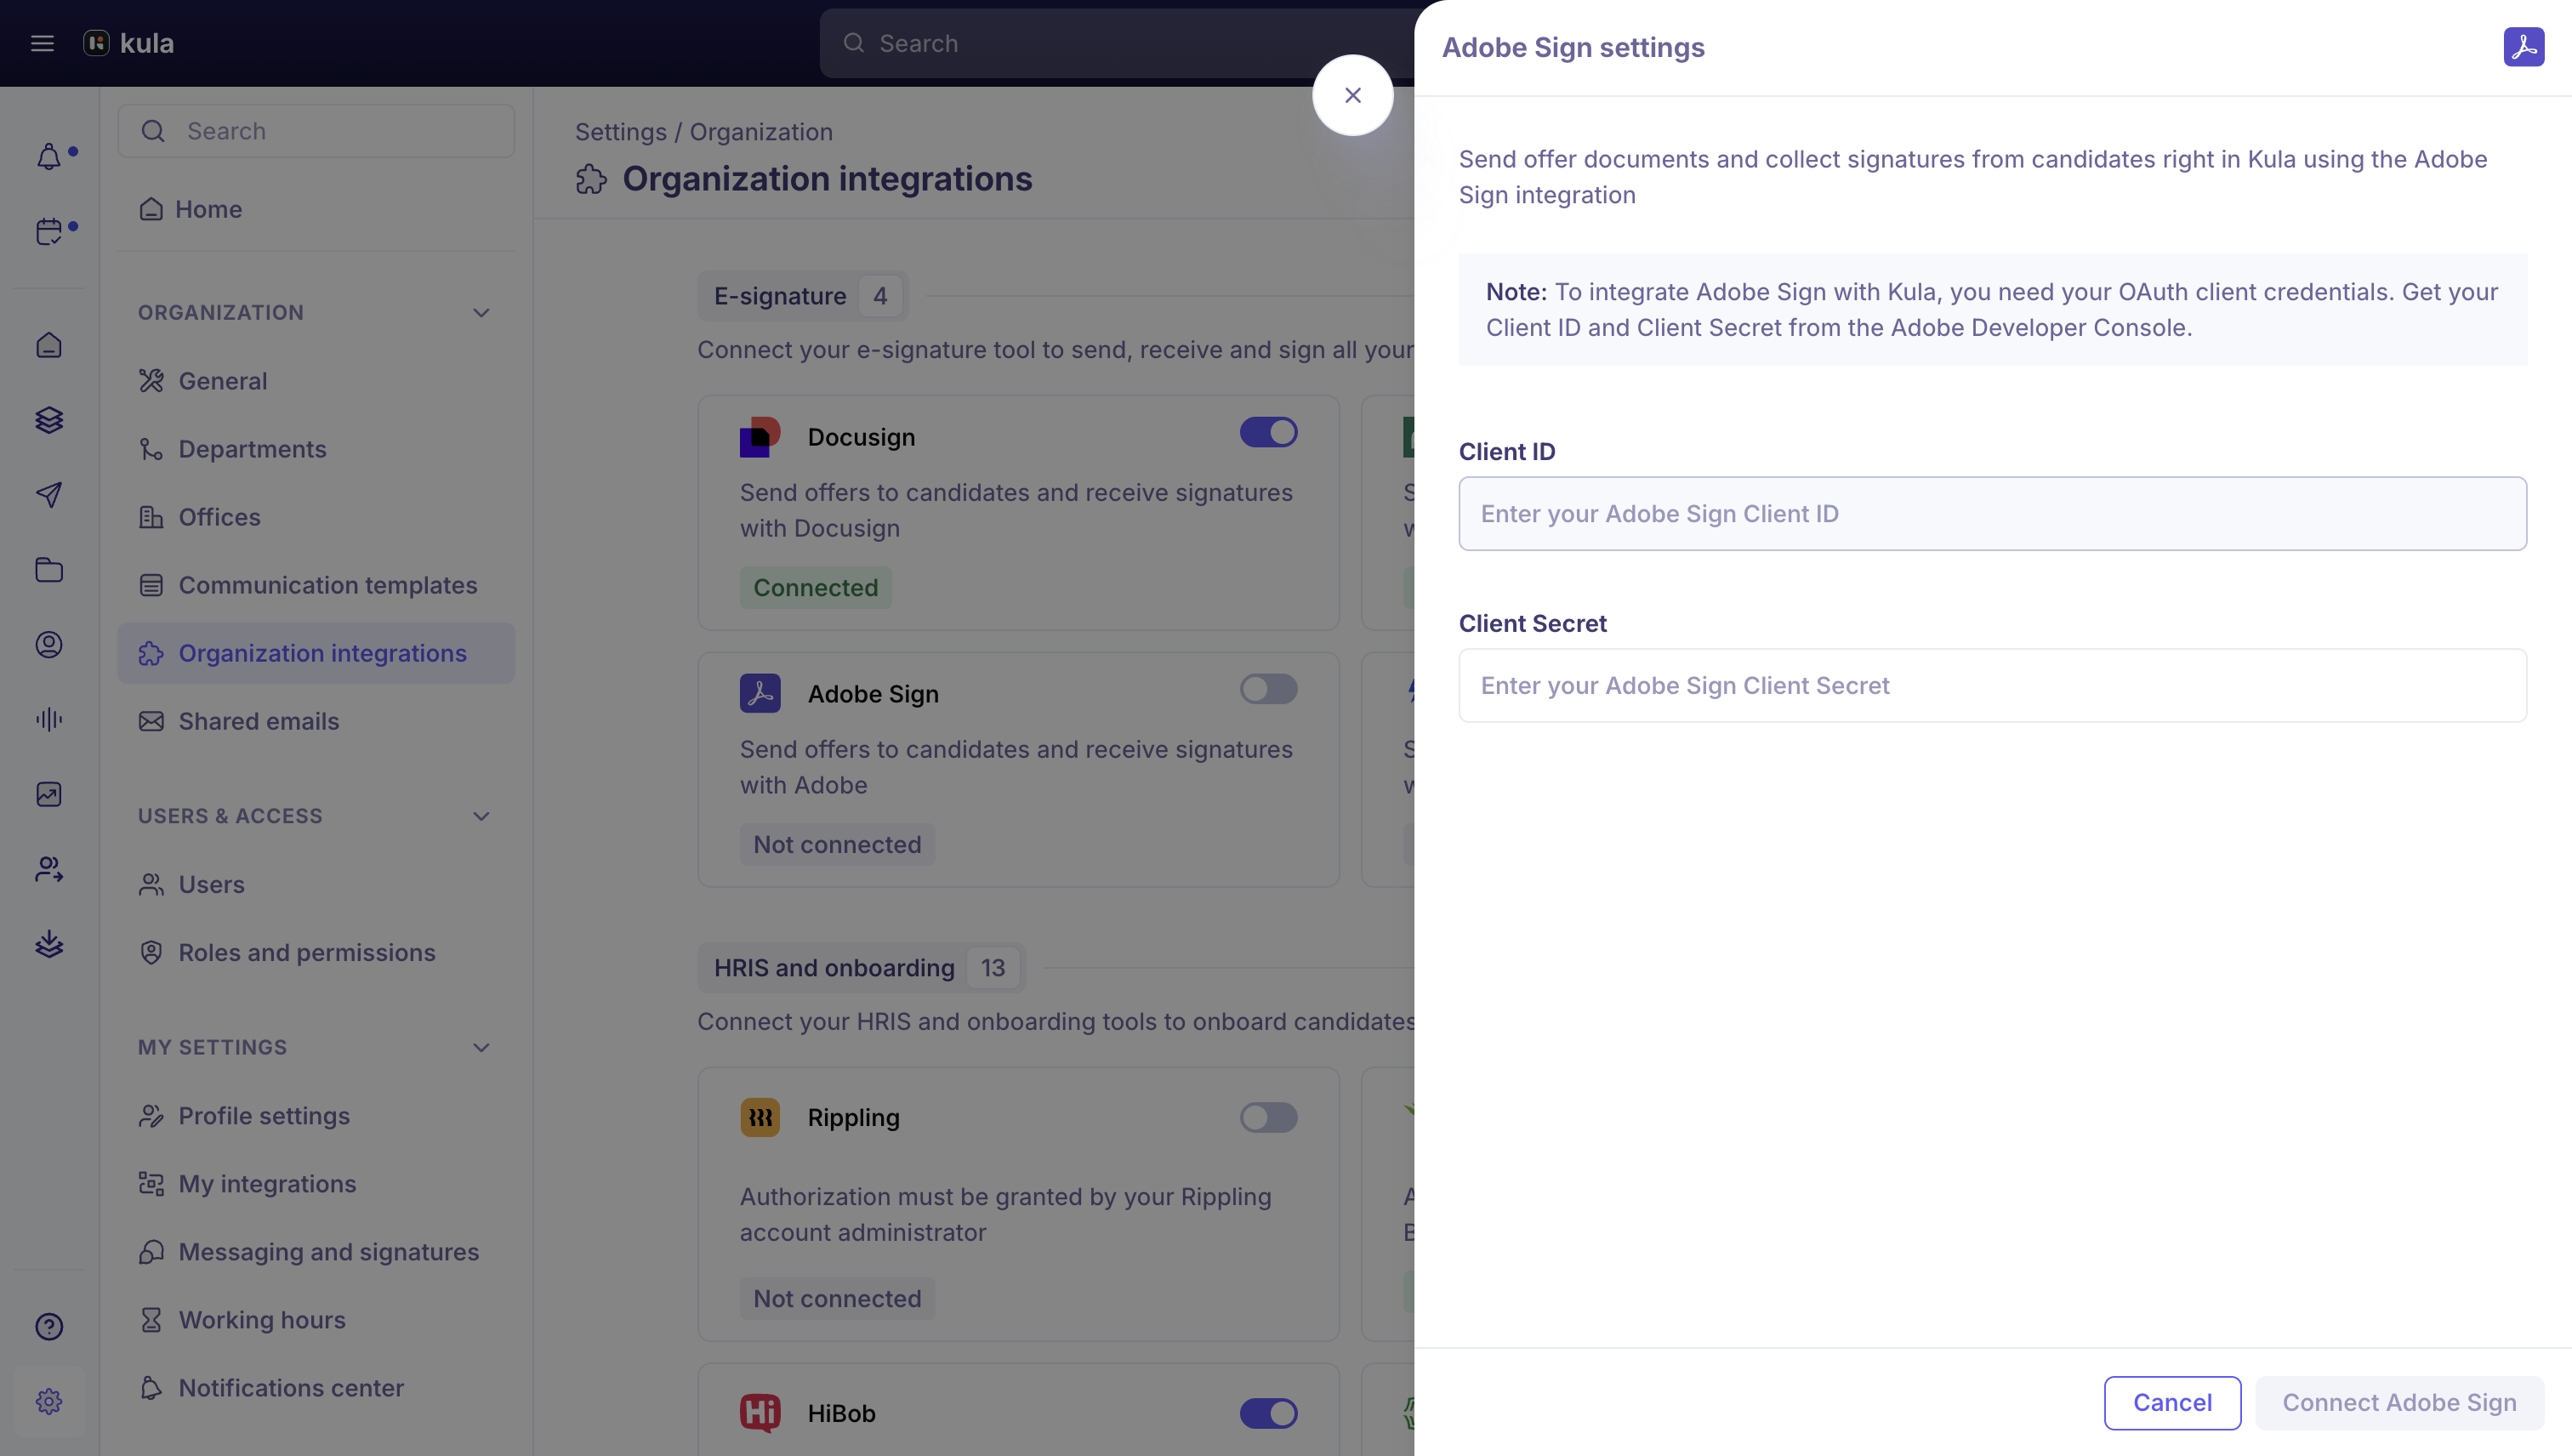
Adobe Sign connects in two steps.
Go to Settings → Organisation → Integrations → Adobe Sign.
Enter your Client ID and Client Secret from the Adobe Developer Console, and save.
You're redirected to Adobe to finish signing in and authorise Kula.
Send an offer with Adobe Sign
The offer must already be approved.
Open the approved offer and choose Send with Adobe Sign.
Write your message. Unlike DocuSign and PandaDoc, Adobe's message box is plain text only — no formatting or links.
Click Send.
Good to know
Your offer letter template needs Adobe's own tokens (like {{adobe.candidate_signature}}) for signature and date fields to work.
Adobe Sign doesn't have a preview/review step like DocuSign does — sending goes straight to the candidate (and company signer, if required).
If an Adobe agreement is cancelled or expires on Adobe's side, the offer doesn't move to a final Voided state the way it does with the other providers — it reopens as an editable draft instead, ready to regenerate and resend.
Signing offers with Pandadoc
Send an offer straight into PandaDoc for the candidate — and, if you need one, a company signer — to sign electronically. This article covers connecting PandaDoc and sending an offer through it.
Who can do this: Recruiter, Hiring Manager send offers. Super Admin, Admin connect PandaDoc.
Where to find it: Candidates → open a candidate's application → Current job tab → Offer → Send with PandaDoc.
To connect: Settings → Organisation → Integrations → PandaDoc
Connect PandaDoc
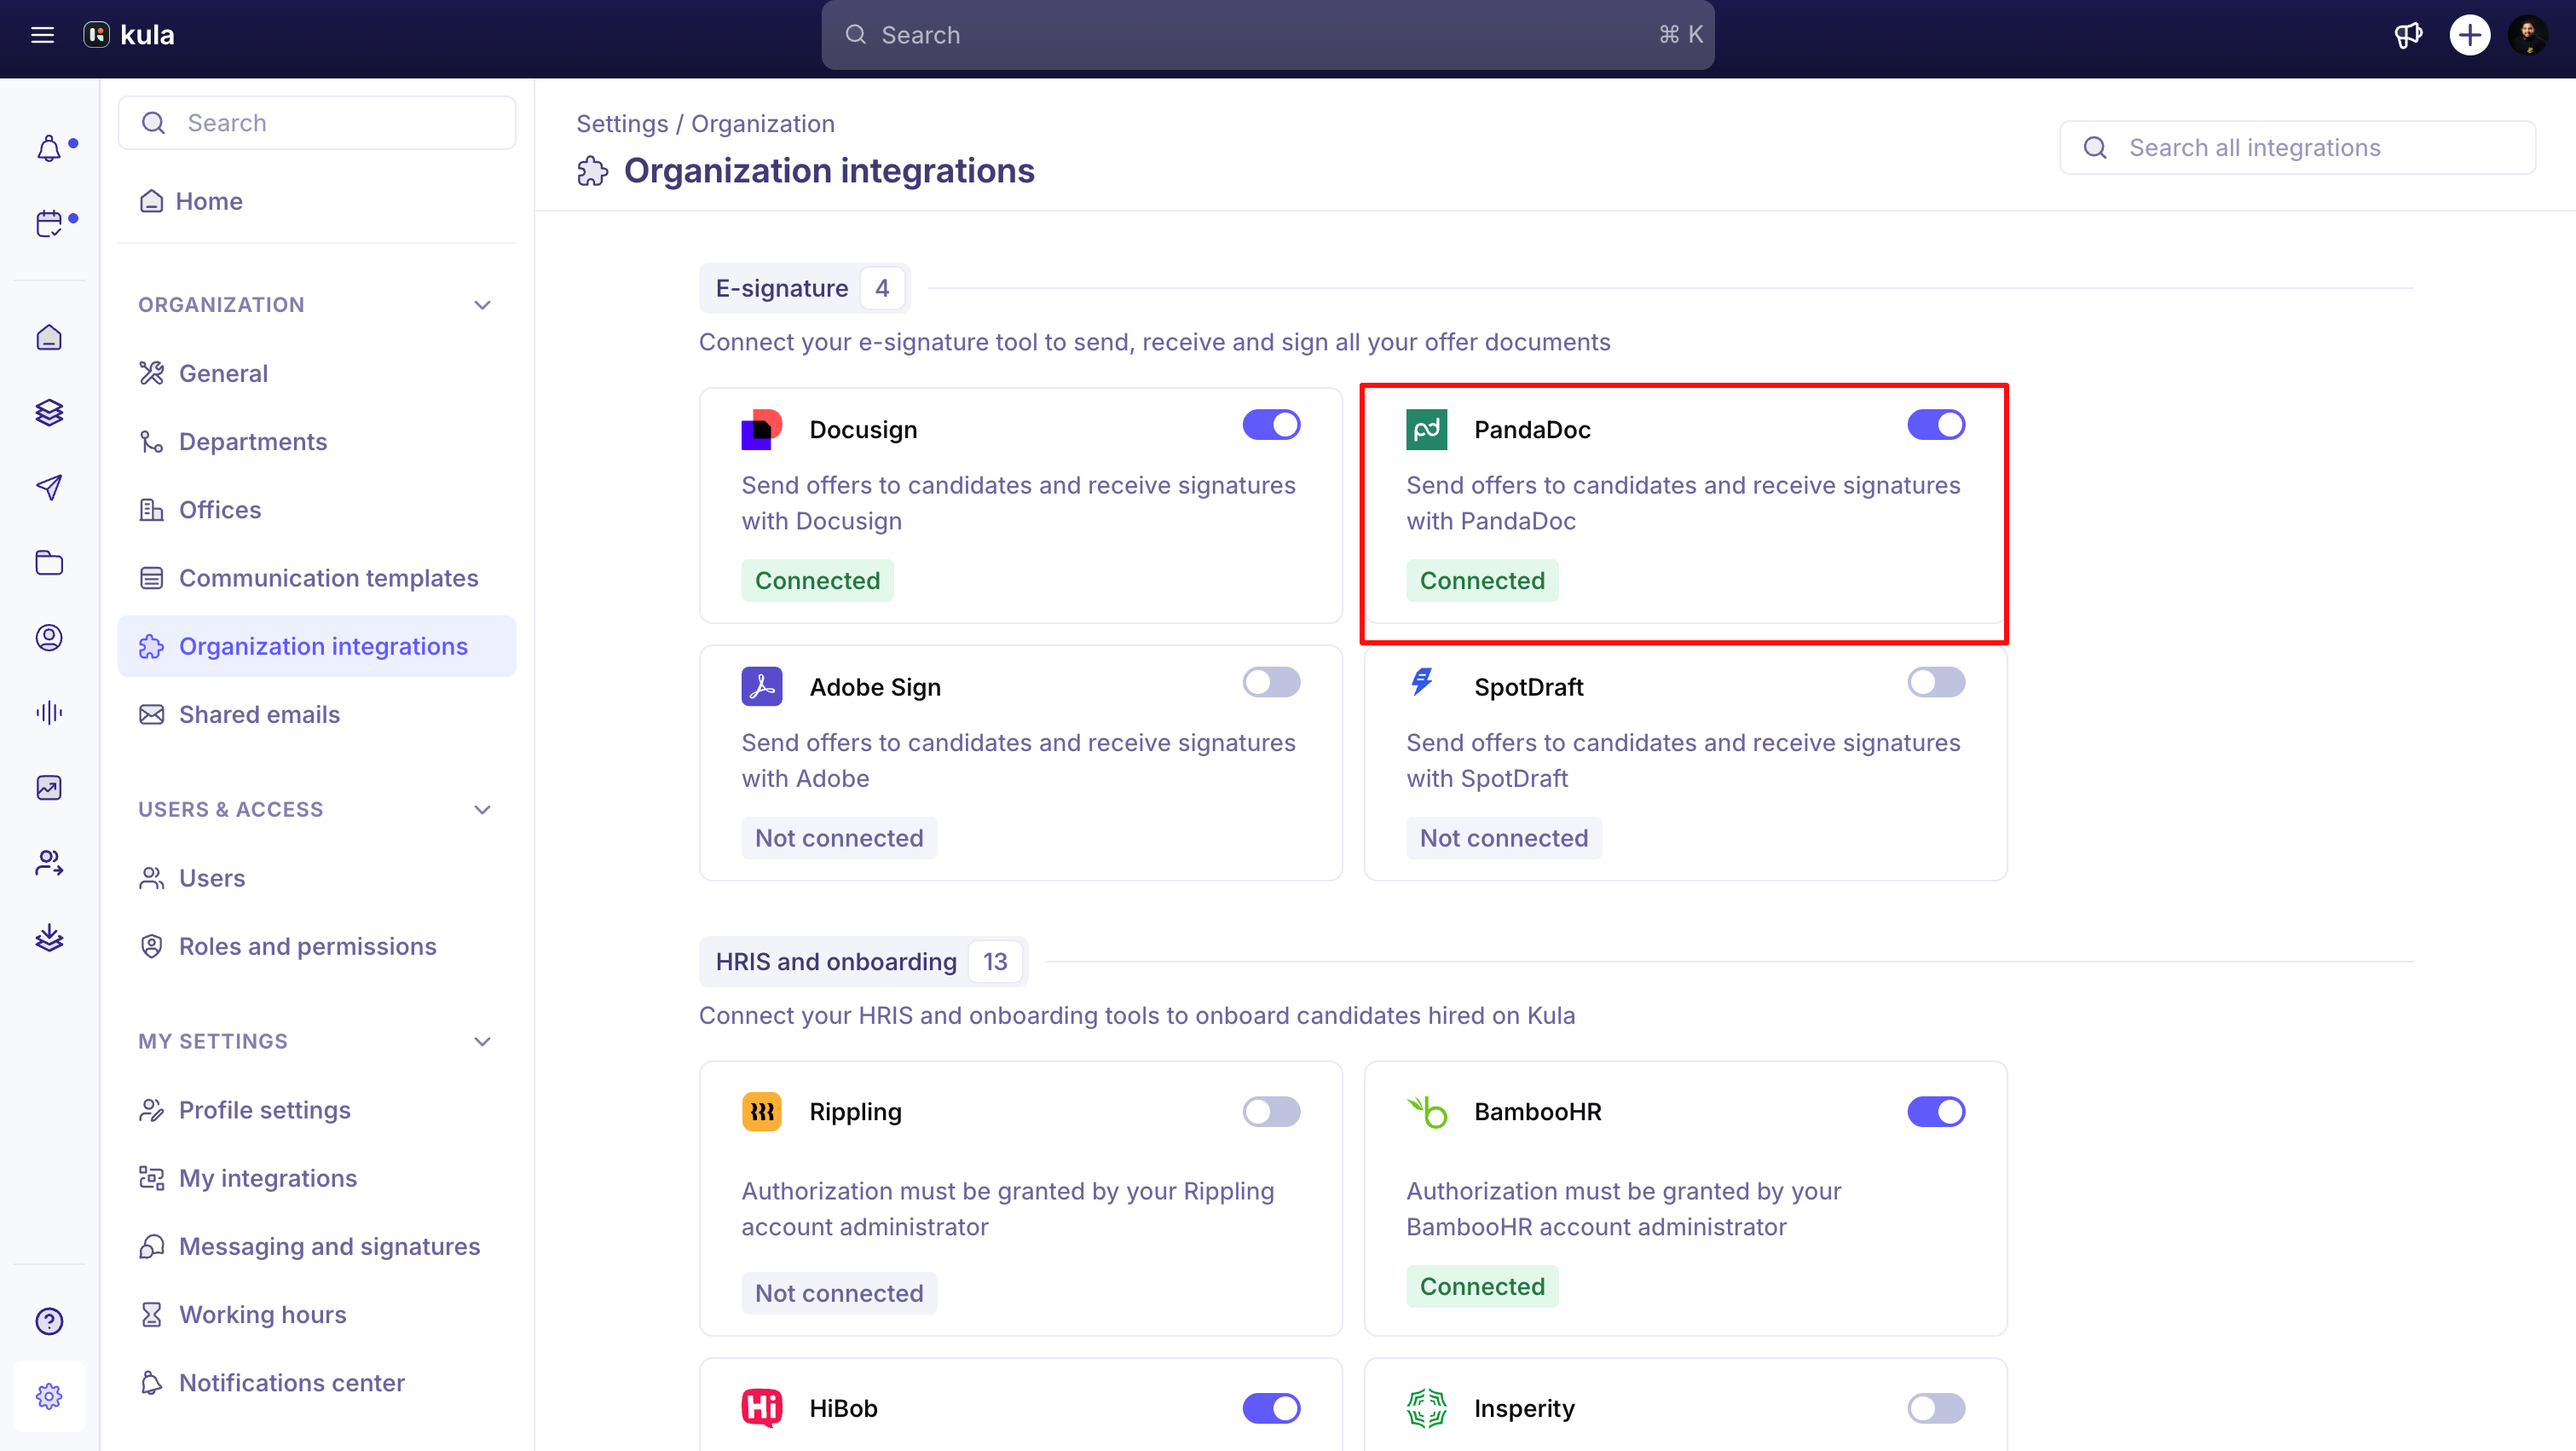
PandaDoc requires a paid PandaDoc account.
Go to Settings → Organisation → Integrations → PandaDoc.
Get your API key from PandaDoc's Dev Center, under Production configuration → API keys.
Paste it into Kula and save.
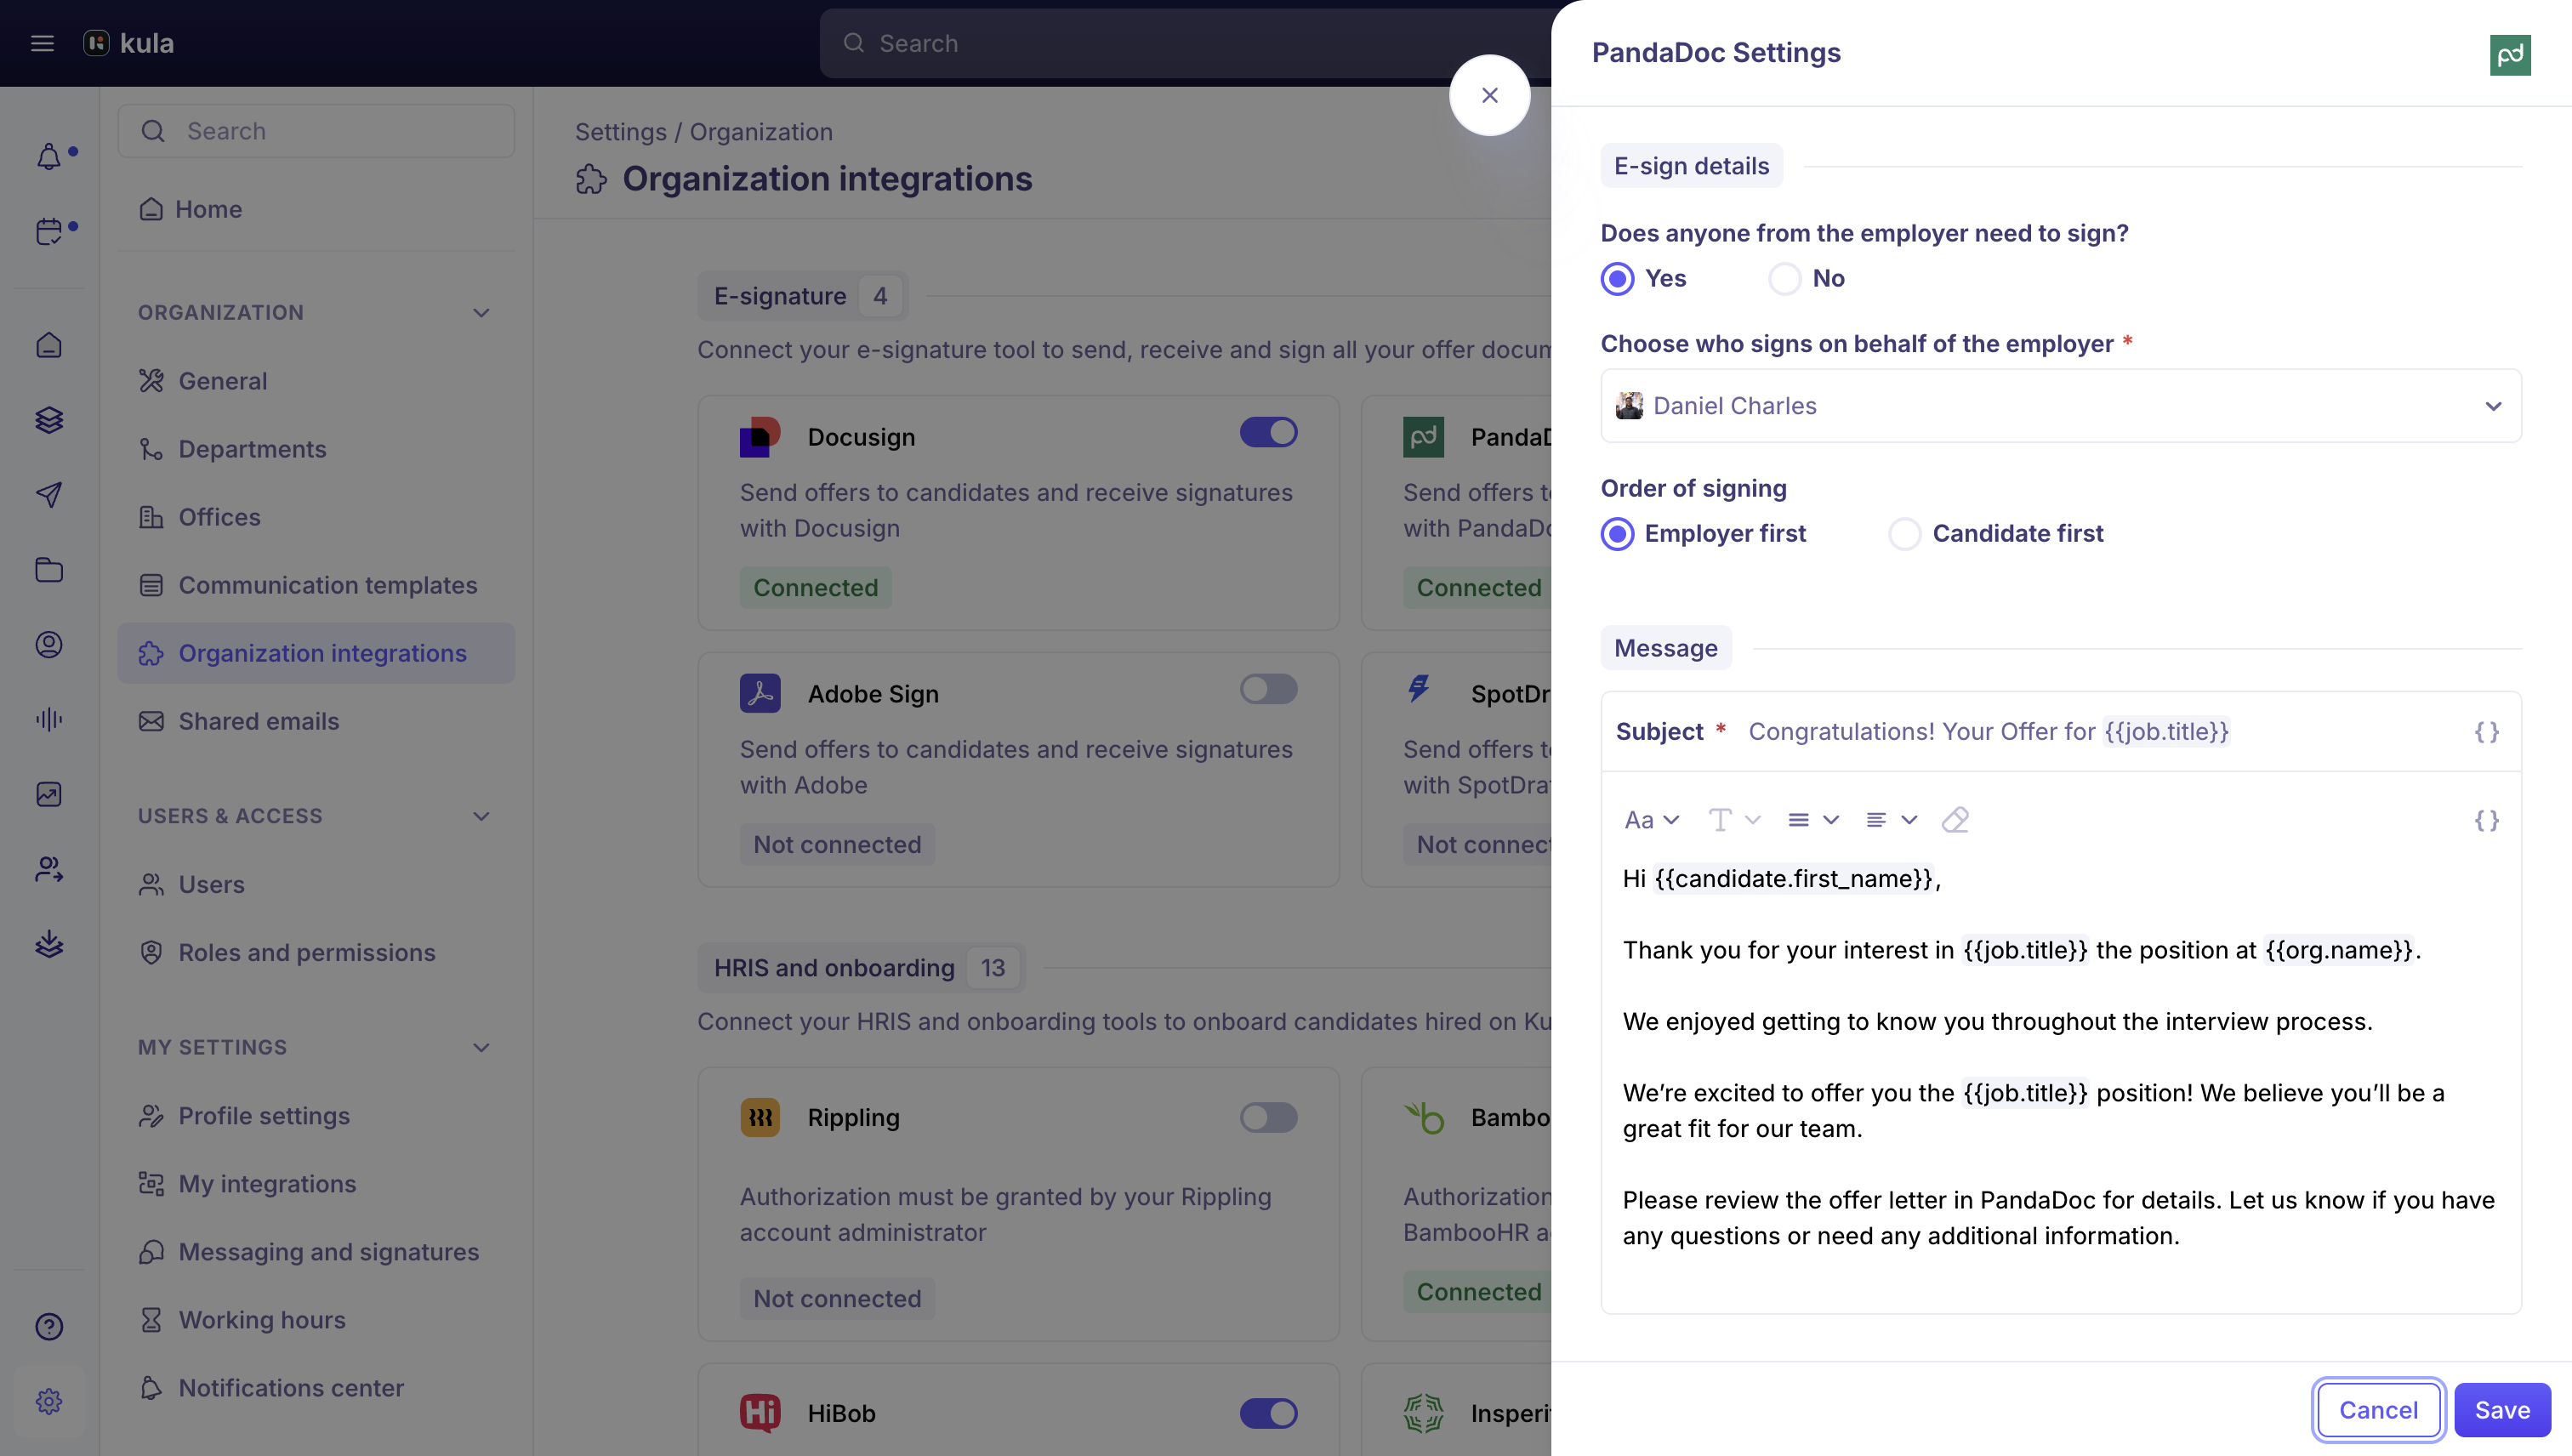
Send an offer with PandaDoc
The offer must already be approved.
Open the approved offer and choose Send with PandaDoc.
Write your message.
Click Send.
Good to know
Your offer letter template needs PandaDoc's own field tags (added automatically from tokens like {{pandadocs.candidate_signature}}) for signature and date fields to work.
If your offer letter template has more than one document attached, only the first one is sent for signature in PandaDoc — any extra documents stay visible to the candidate in Kula's own offer preview, not inside the PandaDoc envelope.
PandaDoc doesn't have a preview/review step like DocuSign does — sending goes straight to the candidate (and company signer, if required).
FAQ
Q: I attached more than one document to my offer template — will the candidate see all of them in PandaDoc?
A: Only the first document is sent into PandaDoc for signature. Any additional documents are still part of the offer in Kula, but the candidate sees them in Kula's offer preview rather than inside the PandaDoc envelope.
Q: Why don't I see a decline reason on a PandaDoc offer right away?
A: PandaDoc doesn't include the decline reason in its first notification to Kula — Kula fetches it separately, so it may appear a little after the decline itself.
Q: Why can't I preview the offer in Adobe before sending, like I can with DocuSign?
A: Adobe Sign doesn't have a preview step in Kula — only DocuSign does. Double-check your offer details and template before you send with Adobe Sign.
Q: An Adobe envelope I sent got cancelled — why does the offer show as an editable draft instead of Voided?
A: This is expected for Adobe specifically. When an Adobe agreement is cancelled or expires, Kula reopens the offer as a draft rather than marking it Voided, so you can fix it up and send it again.
Q: Can I send a different message to the candidate and the company signer?
A: Yes — this is a DocuSign-only option. Turn on “Custom email for each recipient” when sending, and you'll get a separate message box for the candidate, the company signer, and anyone copied in.
Q: Why can't my company signer decline the offer in DocuSign?
A: If the company signer is the same person who sent the offer, DocuSign only lets them void the envelope, not decline it — that's a DocuSign platform rule, not a Kula limitation.
Need help?
If you have questions or need assistance, reach out to us at support@kula.ai or use the in-app chat.