Connect Personio to Kula
Last updated: September 18, 2026
Connecting Personio lets you push a hired candidate straight into Personio as a new employee, with the details you already hold in Kula filling the form for you.
Who can do this: Super Admin, Admin
Where to find it: Settings → Organization → Organization integrations → HRIS and onboarding
What the connection window looks like
Turning the toggle on does not connect Personio straight away. It opens a secure connection window: the permissions Kula is asking for, then your Personio domain, then your credentials.
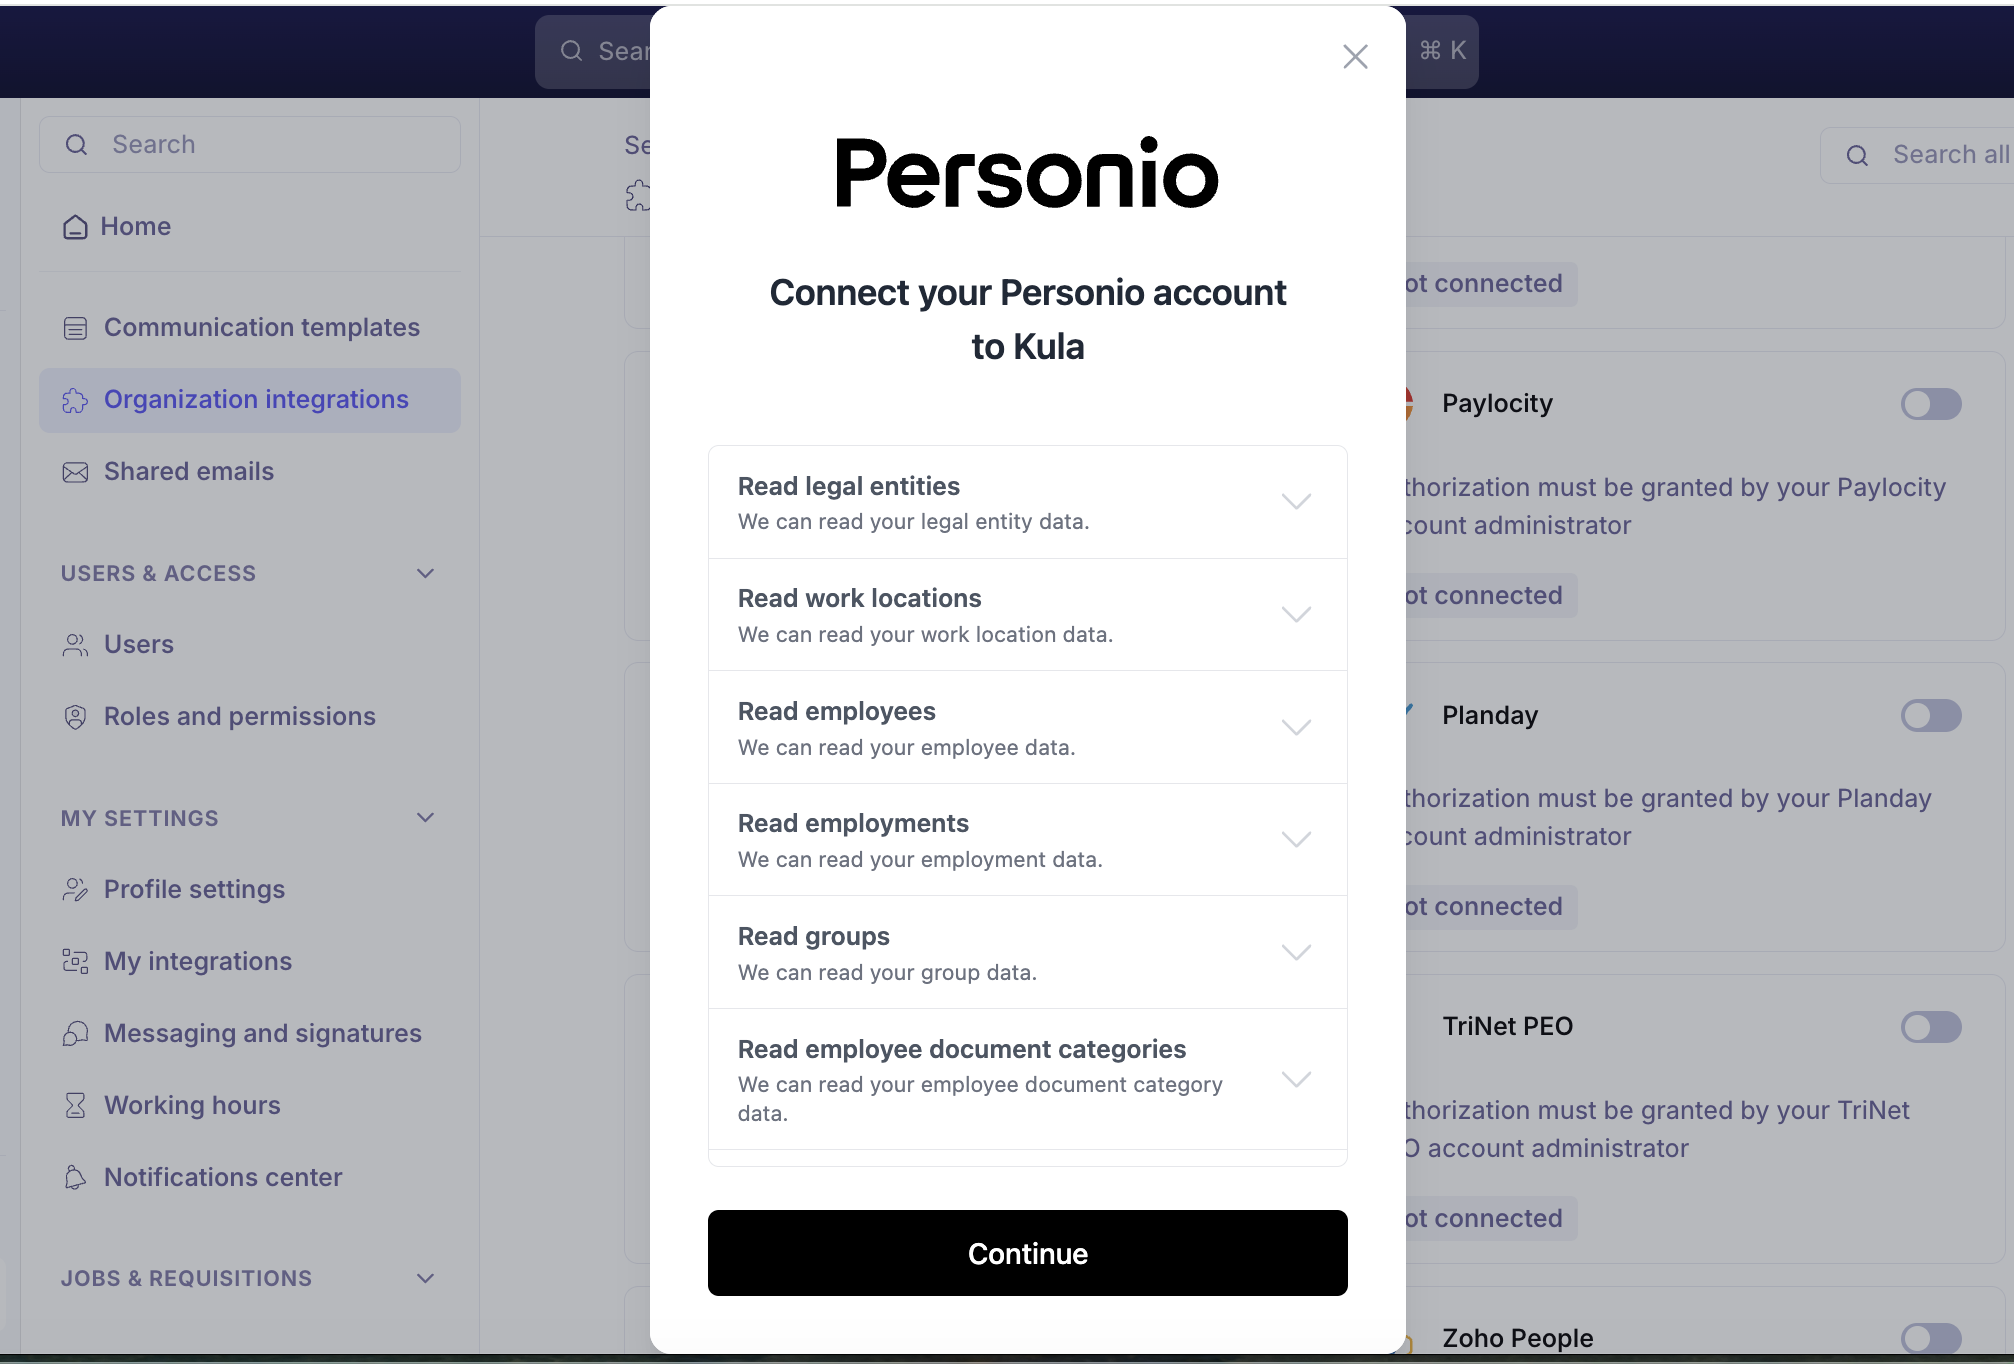
The Personio permissions screen asks for one thing no other HRIS connection does — Read employee document categories. That is what lets Kula show you Personio's own document folders when you attach an offer letter to a hire, so the file lands in the right place rather than a default one.
Every screen has a View Guide button in the footer, next to "Need help? Check out our detailed connection guide." Use it. It opens , which has screenshots of every Personio screen you need to click through — this article tells you what to do, the guide shows you what it looks like on Personio's side.
Before you connect
Two things have to be true before this will work.
You need at least a Personio CorePRO plan. The API credentials this integration depends on are not available below it.
Your Personio account needs two access rights:
Access right | What it is for |
|---|---|
Account configuration > API | Creating the API key |
Account configuration > Marketplace Integration | Viewing the credentials of the key you created |
To check you have them, click Settings in the Personio sidebar, open the API credentials tab in the Integrations section, and confirm you can see Connected Integrations. If you cannot get that far, ask a Personio system administrator to assign those access rights.
Step 1 — Enter your Personio domain
After the permissions screen, Kula asks for your Personio domain.
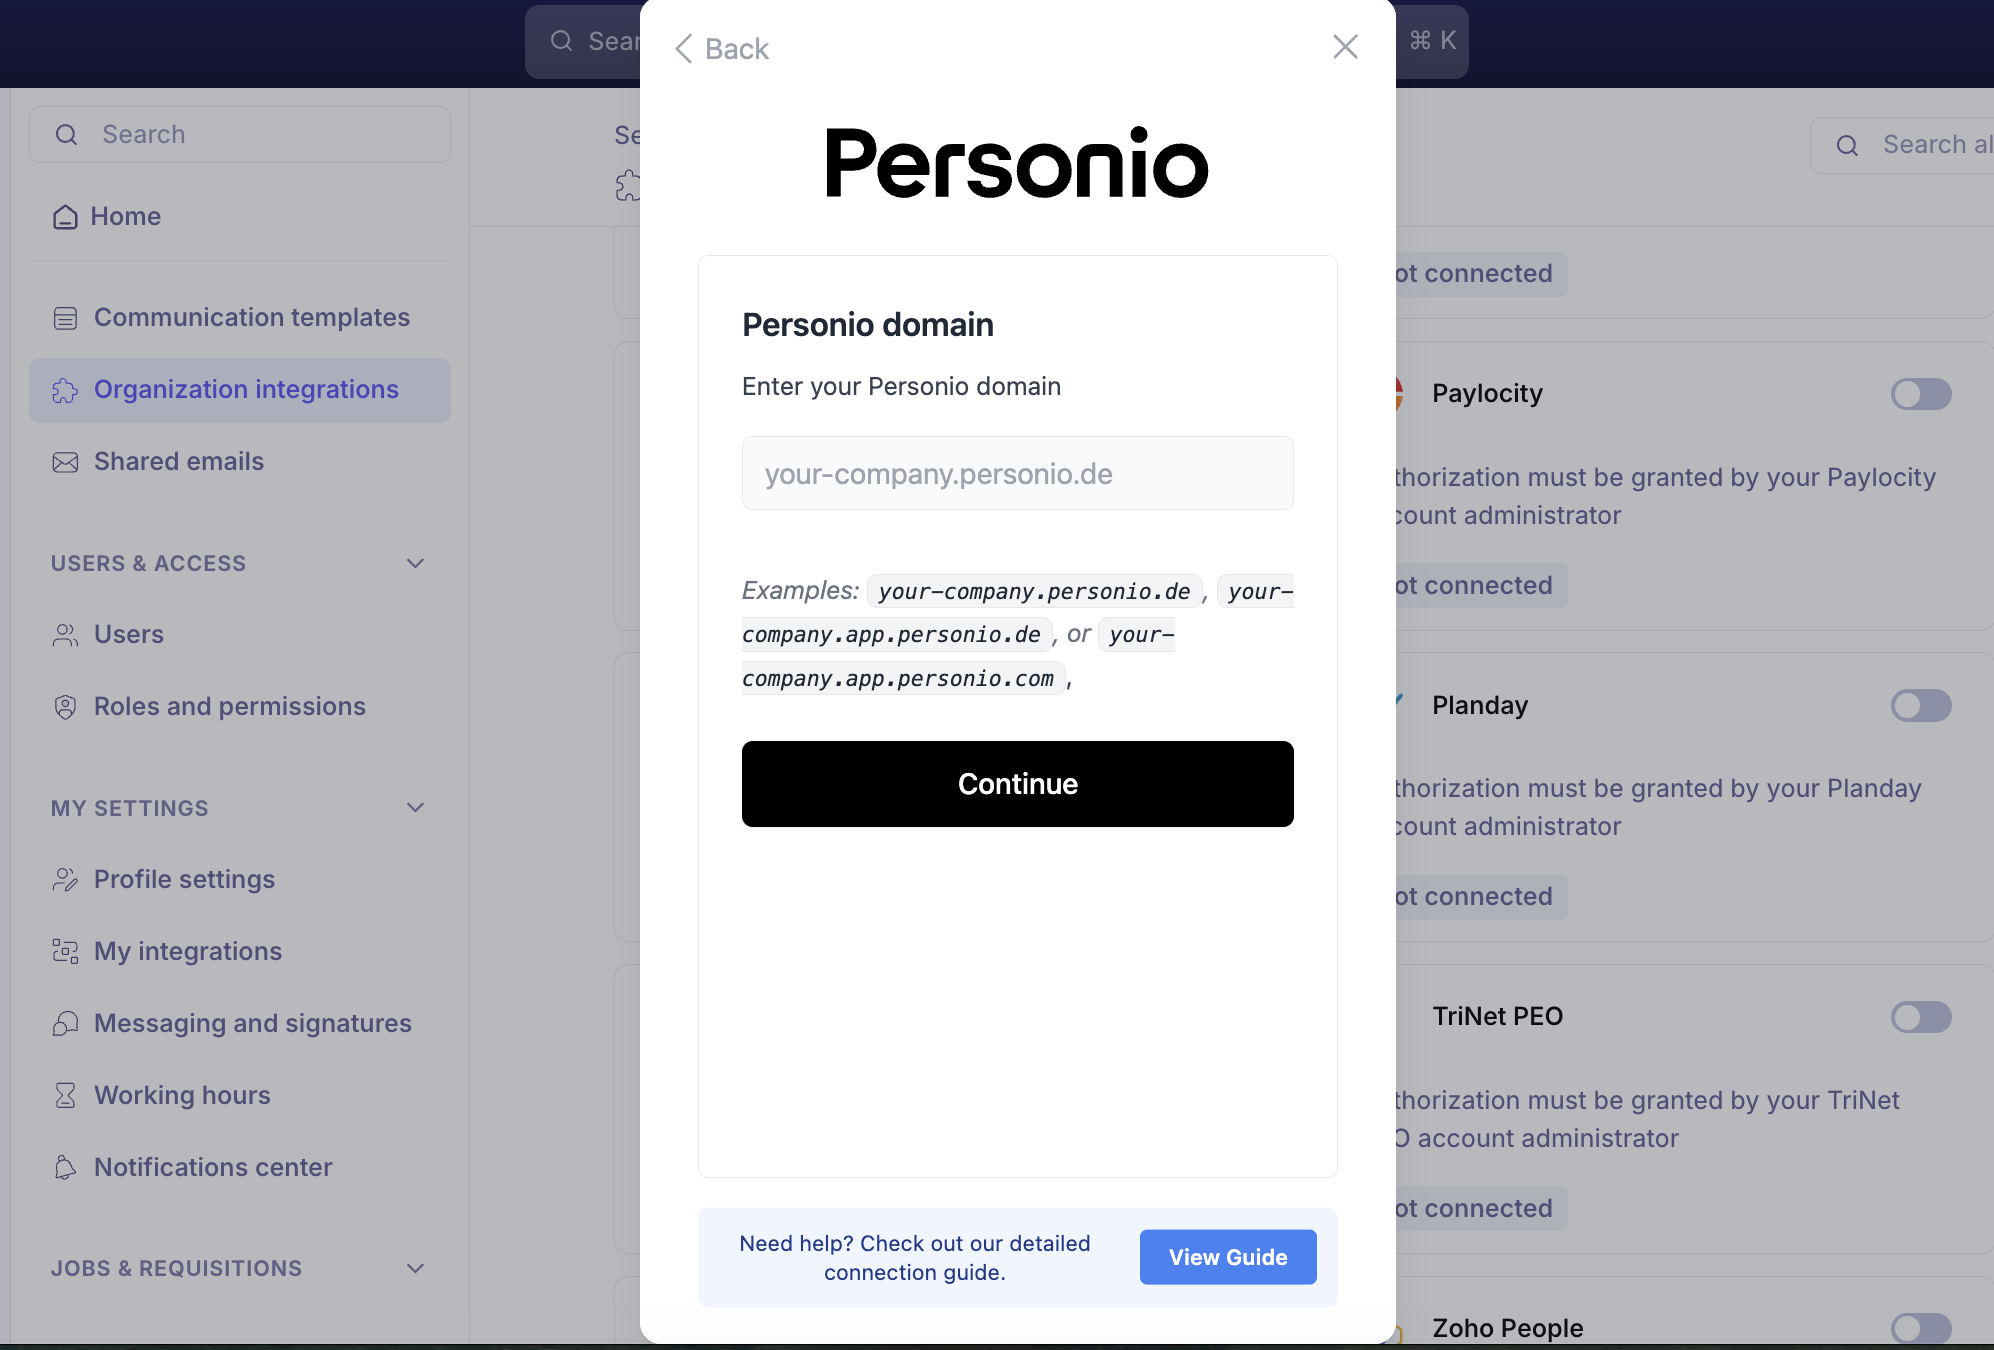
This is the same domain you use to log in to Personio, and Personio accounts use a few different formats:
Accepted format | Example |
|---|---|
| The most common |
| Newer German instances |
|
|
Enter yours and click Continue. If you are not sure which you have, open your Personio login page and copy what is in the address bar.
Step 2 — Create the integration in Personio
Log in to Personio and open the API credentials page at
https://<your subdomain>.personio.de/configuration/marketplace/connected.Click Create custom integration.
Enter a name for the connection.
Enable the access rights listed in Kula's connection window.
Enable the readable employee attributes listed in Kula's connection window.
Click Generate new credential.
The access rights and employee attributes are specific to your account. Read them from Kula's connection window rather than copying an example.
Step 3 — Reveal your credentials
Open the Connected integrations page.
Click the credential you just created. A panel opens on the right.
Select the API credentials tab at the top.
Click Reset client ID and API secret.
Copy the client ID and client secret.
Step 4 — Enter the credentials in Kula
Return to the Kula connection window. If you closed it, reopen the Personio card from Settings → Organization → Organization integrations.
Paste your client ID and client secret.
Click Set up integration.
The field mapping screen opens automatically straight after a successful connection, so you can set your mappings while you are already there. You can reopen it at any time — see below.
Map your Kula fields to Personio
Field mapping decides which Kula value fills which Personio field, so the employee form arrives prefilled instead of blank.
Hover over the connected Personio card.
Click Edit.
Match each Personio field to the Kula field that should fill it.
Save.
These Kula fields are available to map, from your job, requisition and offer records:
Group | Fields you can map |
|---|---|
Organisation | Department, Sub Department 1, Sub Department 2, Sub Department 3 |
Address | Full Address, Street, City, State, Country, Zipcode |
Office | Office Name, Office Location |
Dates | Hire Date — the date the candidate was last moved to the Hired stage |
Push a hired candidate to Personio
Once the mapping is set, open the hired candidate's application and send them to Personio. Kula loads the Personio employee form, prefills every mapped field, and fetches Personio's own dropdown options live so the values you pick are always valid.
You can also attach documents from the application — offer letters and other files — and choose which Personio document category each one goes into.
For the full flow, see Handing off to your HRIS.
Fix an invalid connection
If the card shows Invalid, the credentials were reset or the access rights were changed in Personio and pushes will fail.
In Personio, open the credential under Connected integrations and check its access rights and readable employee attributes still match what Kula's connection window asks for.
Reset the client ID and API secret if you need fresh values.
Hover over the Personio card in Kula, click Re-authenticate, and enter the current credentials.
Your existing field mappings are kept — you do not have to set them up again.
Good to know
Only hired candidates can be pushed. If the application is not in the Hired stage, Kula blocks the push.
Documents are limited to 20 MB per file. Anything larger is rejected. Files over 10 MB, and any push covering more than one document category, upload in the background — the push itself completes straight away and the documents follow.
Pushing the same person twice fails. If the employee already exists in Personio, Kula reports it rather than creating a duplicate.
A permissions error means Personio, not Kula. If the push fails with a permission error, the Personio credentials that authorised the connection do not have rights to create employees. Ask your Personio administrator to widen them and re-authenticate.
Where a job or requisition has more than one office, the first office is used when sending to Personio.
HRIS and onboarding integrations are only available on ATS accounts.
A Personio CorePRO plan is the minimum. Below it, the API credentials this integration relies on are not available.
Get the domain format right the first time. Personio uses
your-company.personio.de,your-company.app.personio.deandyour-company.app.personio.comdepending on the instance. Copy it from your Personio login page rather than typing what you think it is.Personio is the only HRIS connection that reads your document categories. That is why, when you push a hire with an offer letter attached, you can pick which Personio folder it goes into instead of accepting a default.
Resetting the client ID and API secret in Personio is how you view them — so doing it on a credential already in use will break the existing connection.
If you later add fields to your Kula mapping, check whether Personio needs the matching readable employee attribute enabled. A field with no attribute enabled comes through empty.
FAQ
Kula is asking for our Personio domain — which one does it want? The same domain you use to log in to Personio. It will be one of your-company.personio.de, your-company.app.personio.de or your-company.app.personio.com — open your Personio login page and copy what is in the address bar. For more, see .
Personio won't show me the client secret — where is it? Personio only reveals it on reset. Open Connected integrations, click your credential, select the API credentials tab and click Reset client ID and API secret. Only do this on a credential that is not already connected to something else.
Can I send a candidate to Personio before they are marked as hired? No. The push is only available once the application reaches the Hired stage — Kula blocks it before then to avoid creating employees for candidates who have not accepted.
We changed our field mapping — do we need to reconnect Personio? No. Mapping and connection are separate. Hover over the card, click Edit, change the mapping and save; the connection is untouched.
Need help? If you have questions or need assistance, reach out to us at or use the in-app chat.