Getting started for Admin
Last updated: September 26, 2026
Welcome to Kula!
This guide walks you through the setup that gets your instance ready for hiring, in the order that works best — each section builds on the one before it. Every section links out to a detailed article, so you can go as deep as you need without losing your place here.
You are laying foundations. The jobs themselves get created by your recruiters once this is done.
Who can do this: Super Admin, Admin — a few steps are Super Admin only, and they're marked
Where to find it: Settings at the bottom of the left navigation
Step 1 — Set up your own account
You will be testing as yourself, so get your own view right first. In Settings → My settings (see ):
Set your time zone — every date and time in Kula displays in it, so interviews and deadlines read correctly
Set your date and time format — so
03/04/2026reads the way your team writes it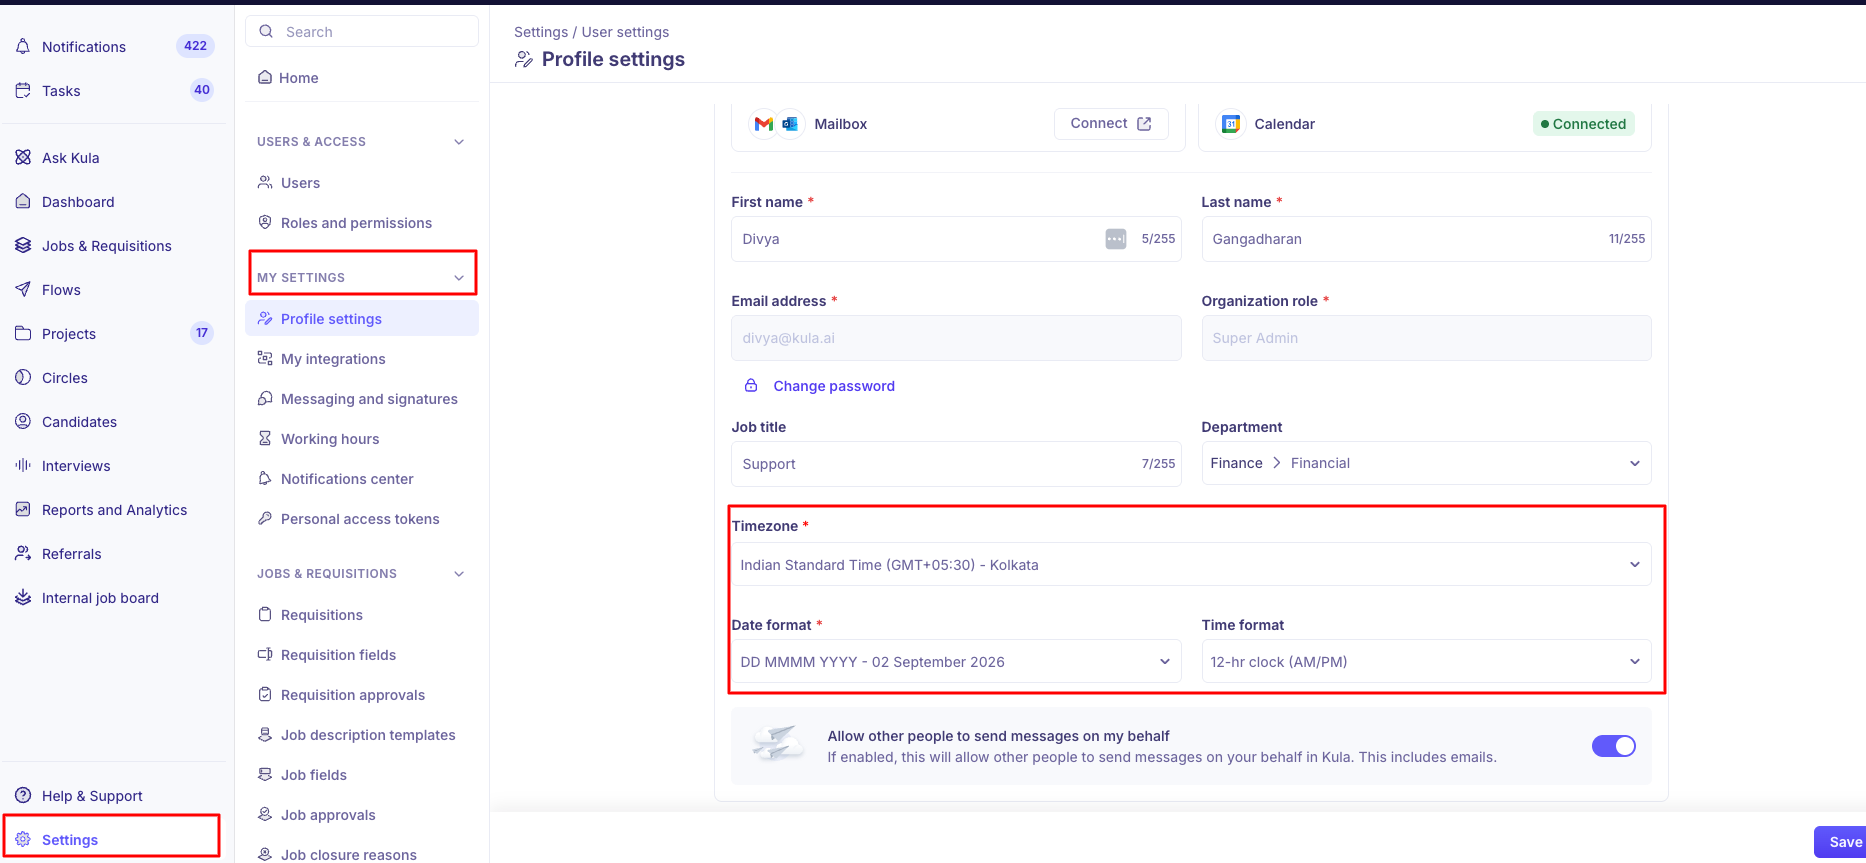
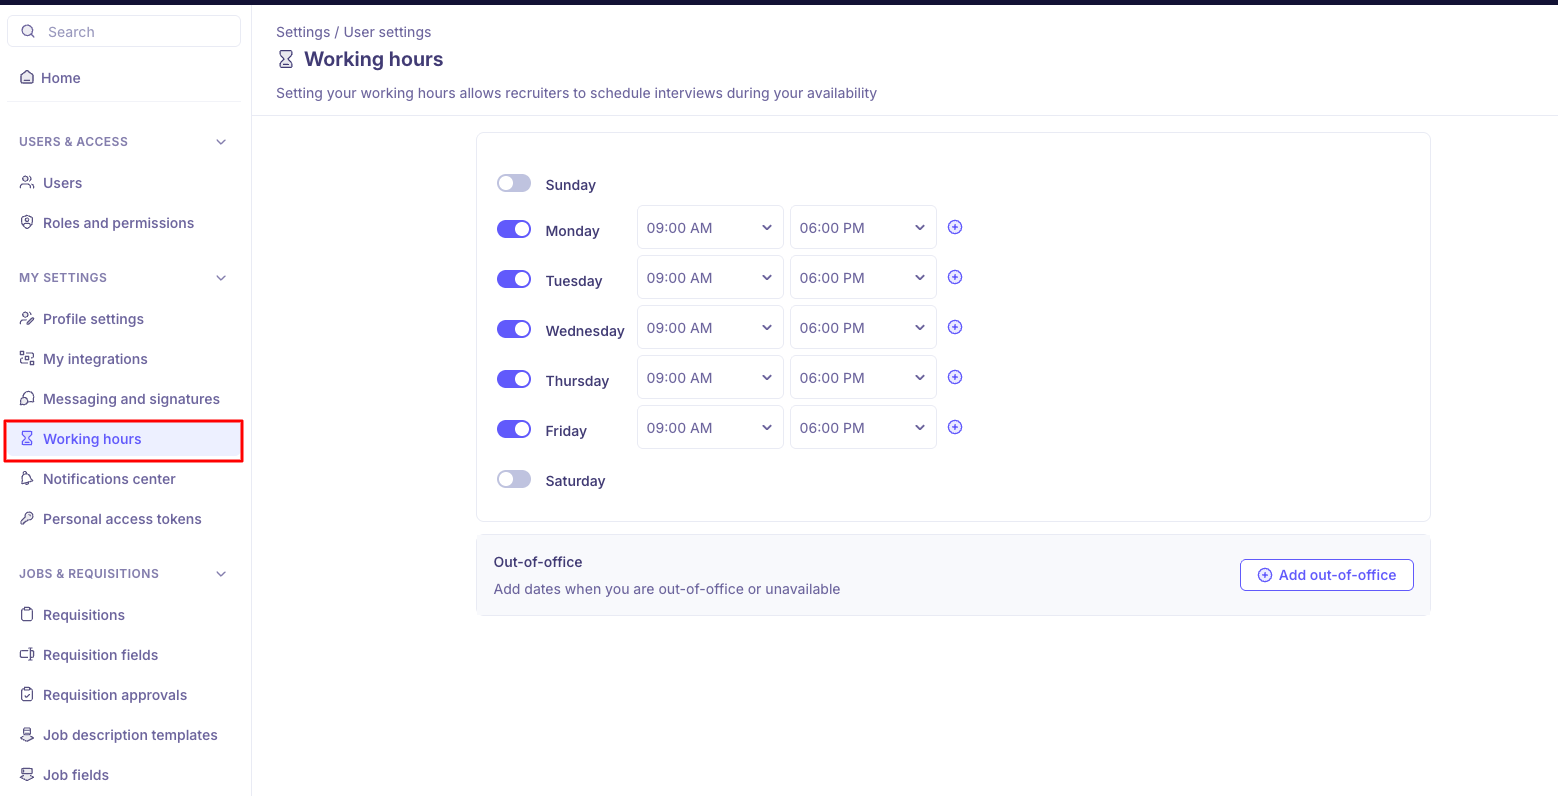
Set your working hours — they set your interview availability, and keep reminders landing on days you actually work
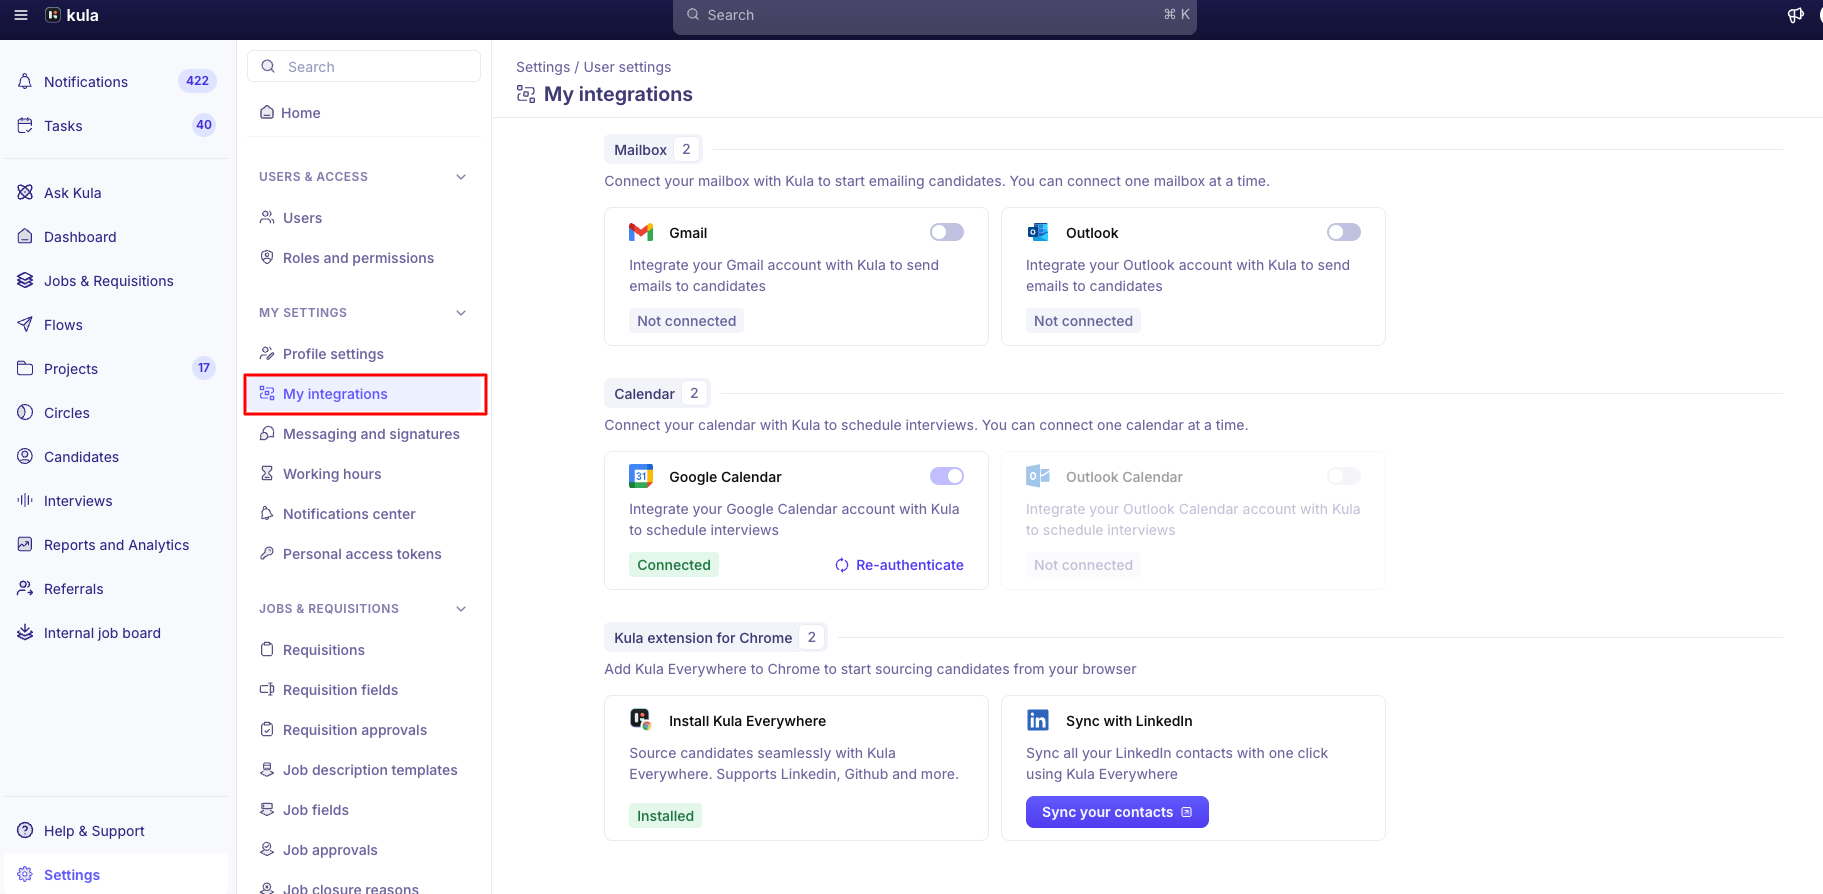
My integrations is optional for admins. It connects your personal mailbox, calendar and the Kula Everywhere Chrome extension — only needed if you'll also schedule, interview or email candidates yourself. Your organization's connection is step 2.
Step 2 — Connect your organization's integrations
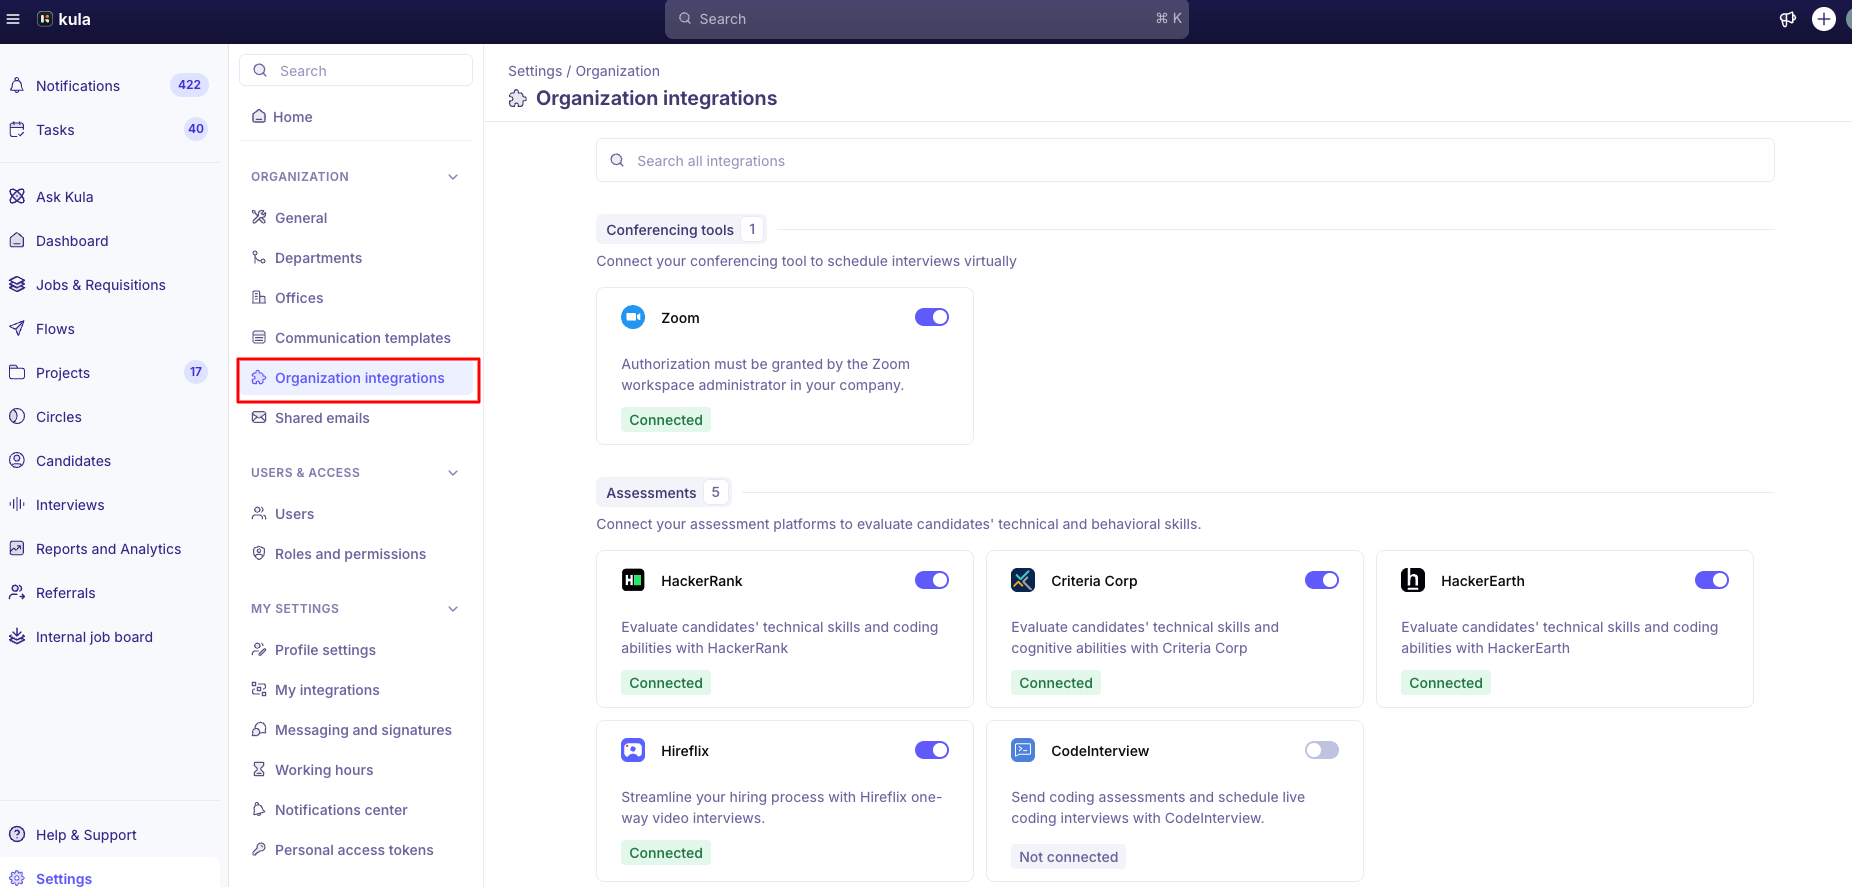
Nothing else works properly until this is done. In Settings → Organization → Organization integrations, connect in this order:(step-by-step guides for each are in )
Conferencing — connect Zoom here. Google Meet and Microsoft Teams come from each person's own calendar; see Set up Google Meet and Microsoft Teams for interviews.
Slack — notifications, plus quick actions so people can approve and submit scorecards without opening Kula
HRIS, assessments, background checks and e-signature — as your process needs them
Step 3 — Build your org structure
Everything downstream filters by these, so agree the shape before you create them. Renaming later is fine; restructuring is not.
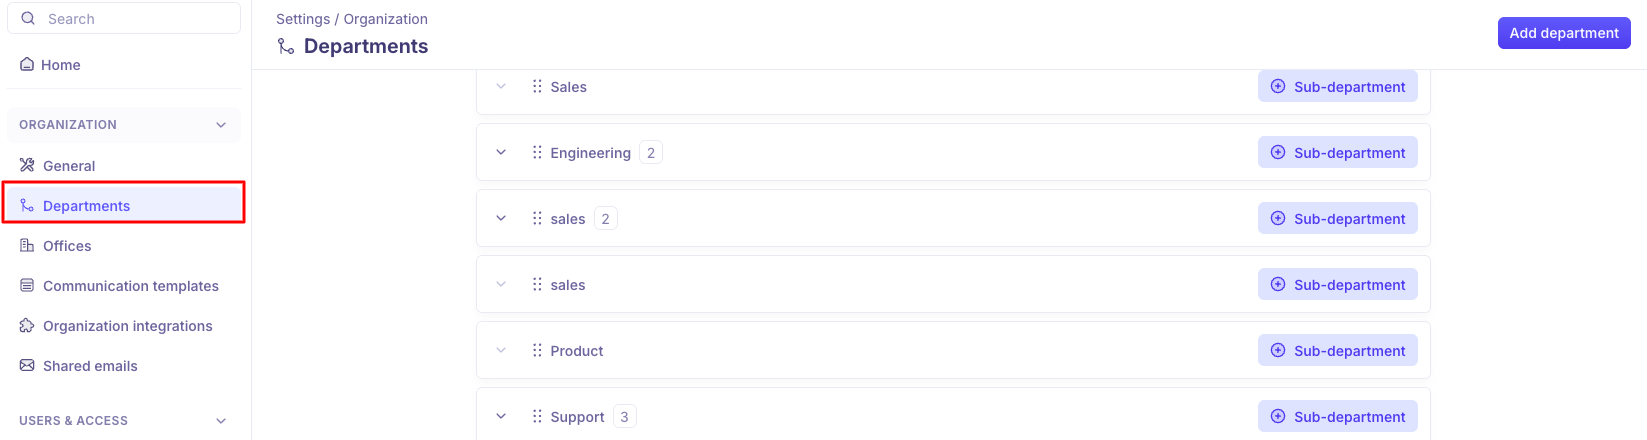
Create your Departments (Super Admin)
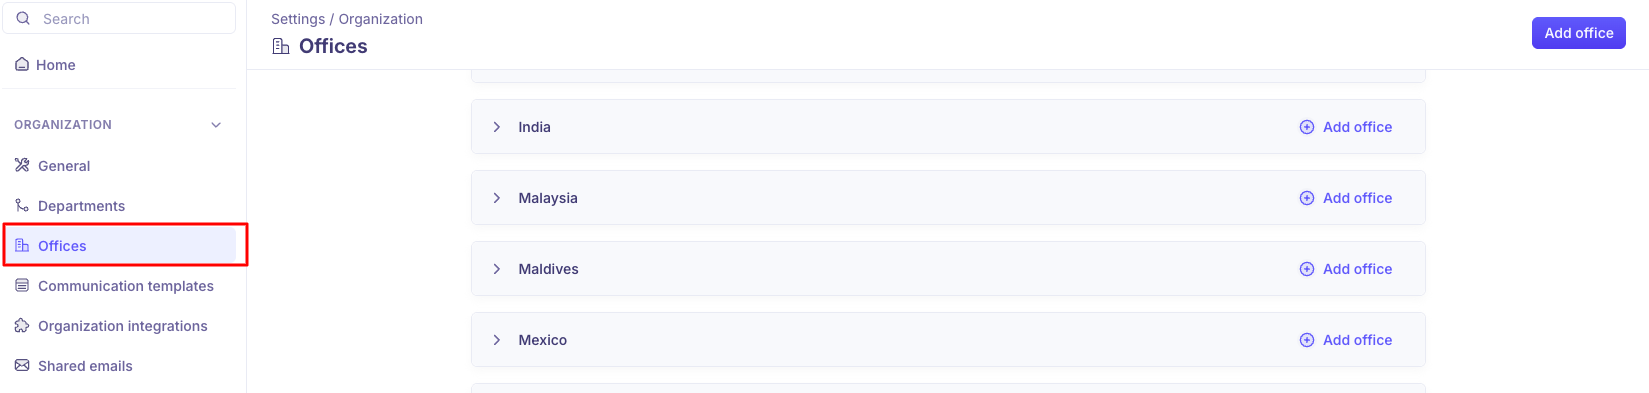
Create your Offices (Super Admin)
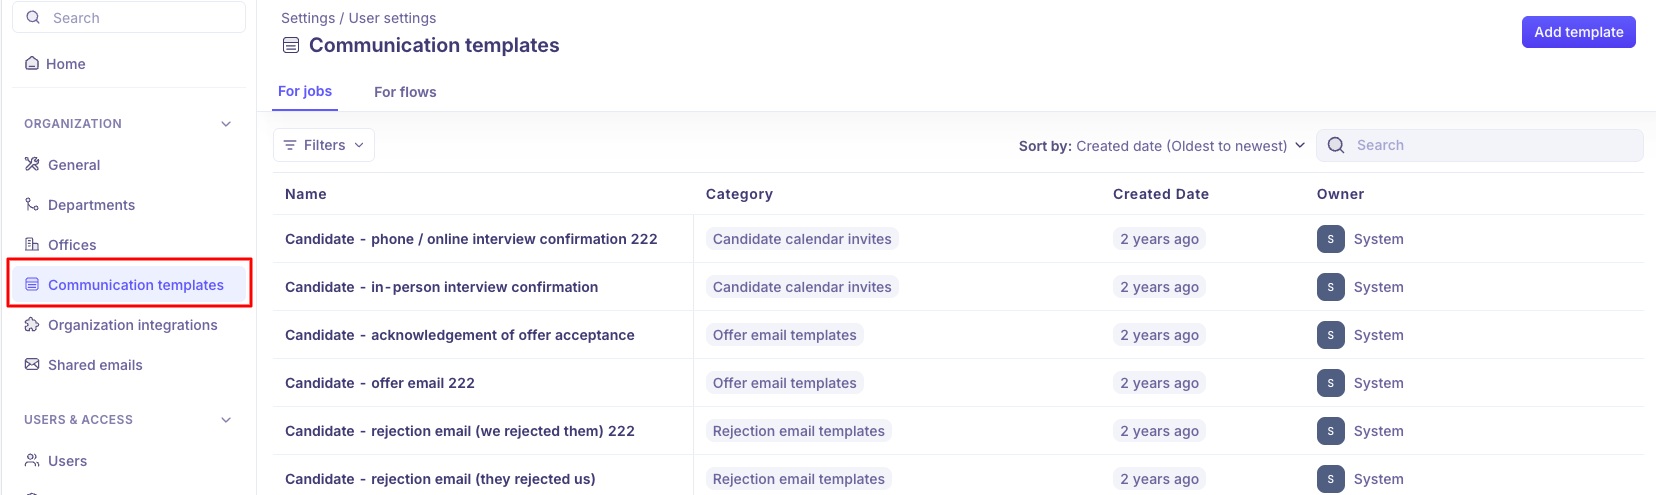
Set up Communication templates for job and flow emails
Step 4 — Decide roles, then invite your team
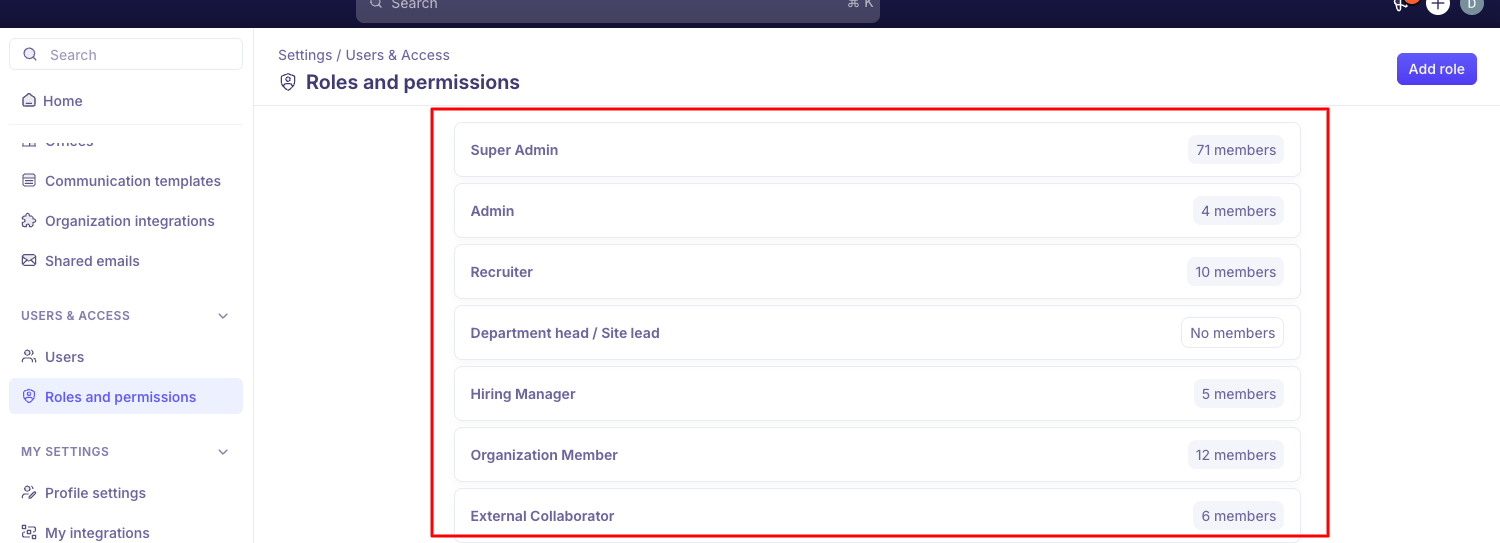
Kula ships with seven default roles. See for what each can do
Role | Give it to |
|---|---|
Super Admin | CHROs, heads of HR and recruitment, whoever owns SSO |
Admin | Recruitment leaders running the tool day to day |
Recruiter | Anyone creating jobs and working the candidate database |
Hiring Manager | Managers who own a role but don't run the process |
Department head / Site lead | VPs, department heads and site leads who need to see every job and requisition in their departments and offices |
Organization Member | Everyone else — interviews, refers, applies internally |
External Collaborator | Agencies and contractors. |
Interviewers get everything they need from the interview briefing, so keep them as Organization Members rather than granting broad access. Where the defaults don't fit, let you assemble your own permission set — though custom roles can't be given permission to manage users
Step 5 — Set up how jobs work
In Settings → Jobs & Requisitions:
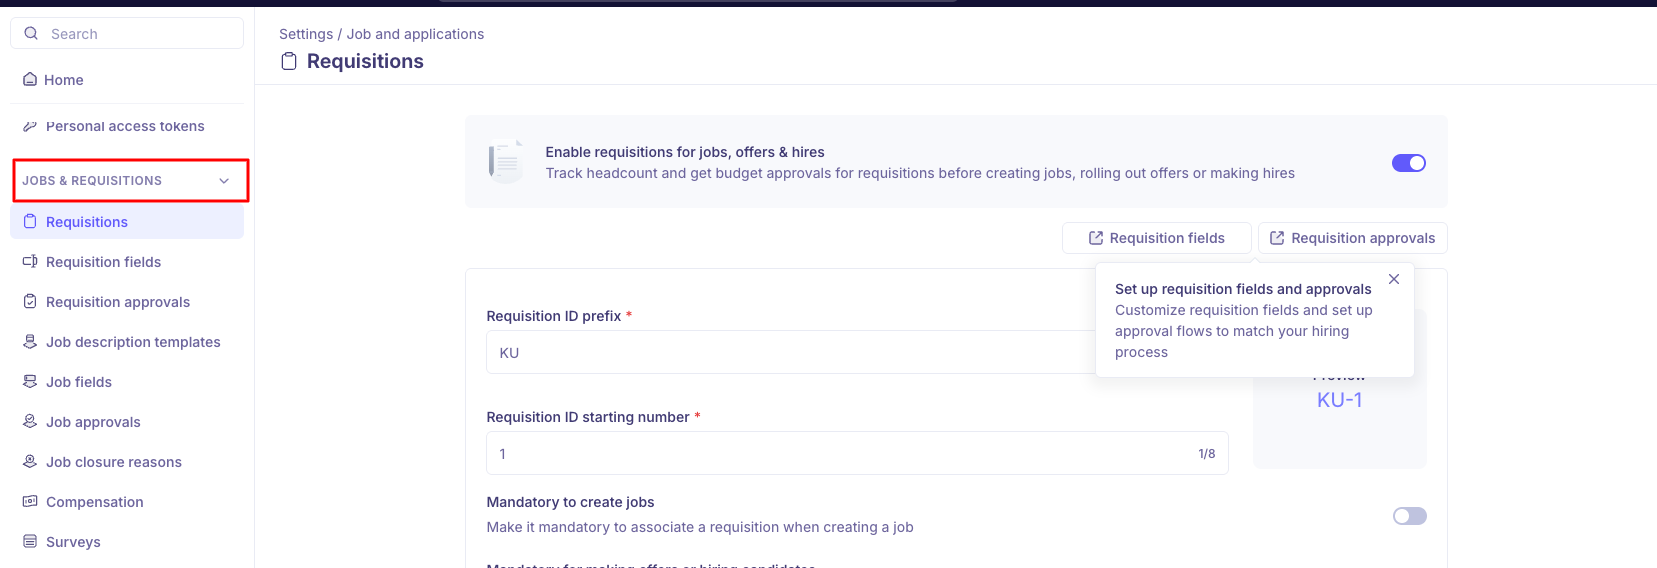
Decide whether to turn on Requisitions — an account-level switch adding a headcount layer in front of jobs. If you do, set your ID prefix and whether a requisition is mandatory on job creation
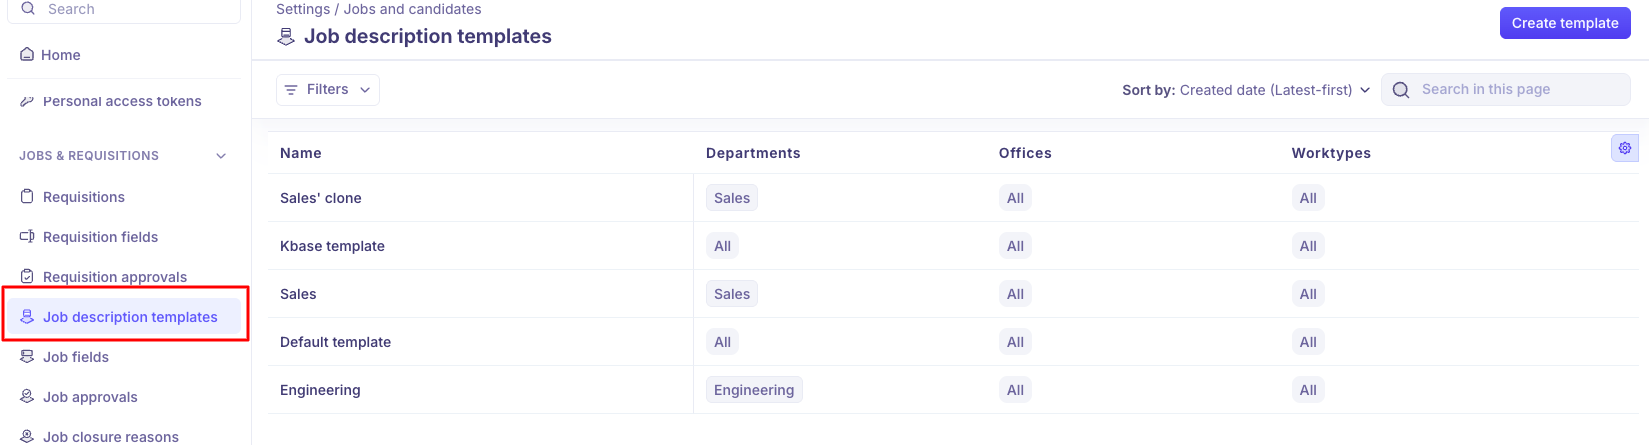
Create Job description templates by department, office and work type
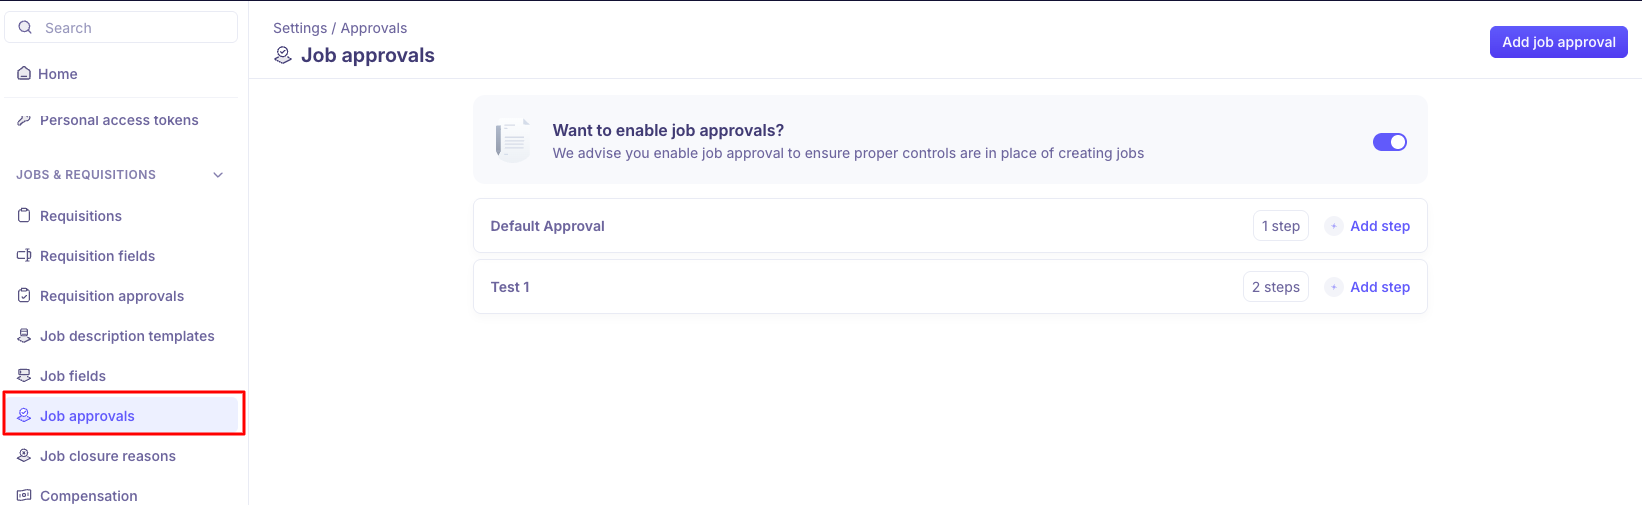
Set up Job approvals, and Requisition approvals if requisitions are on
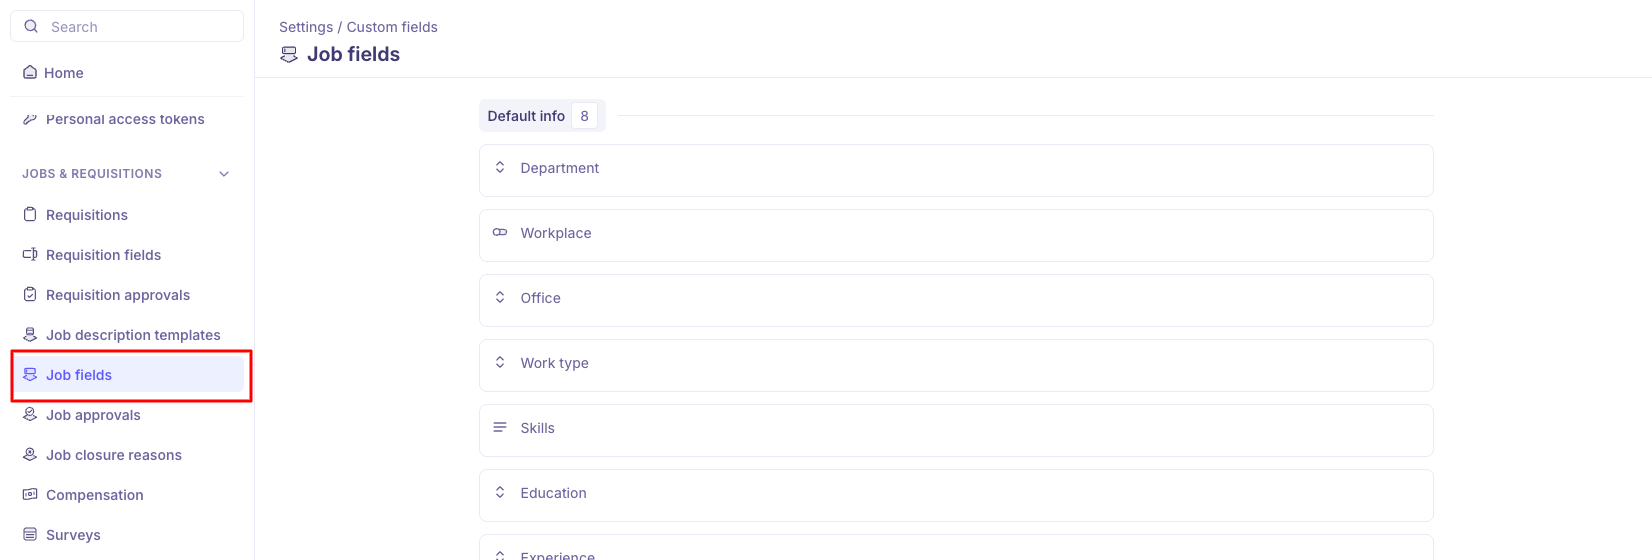
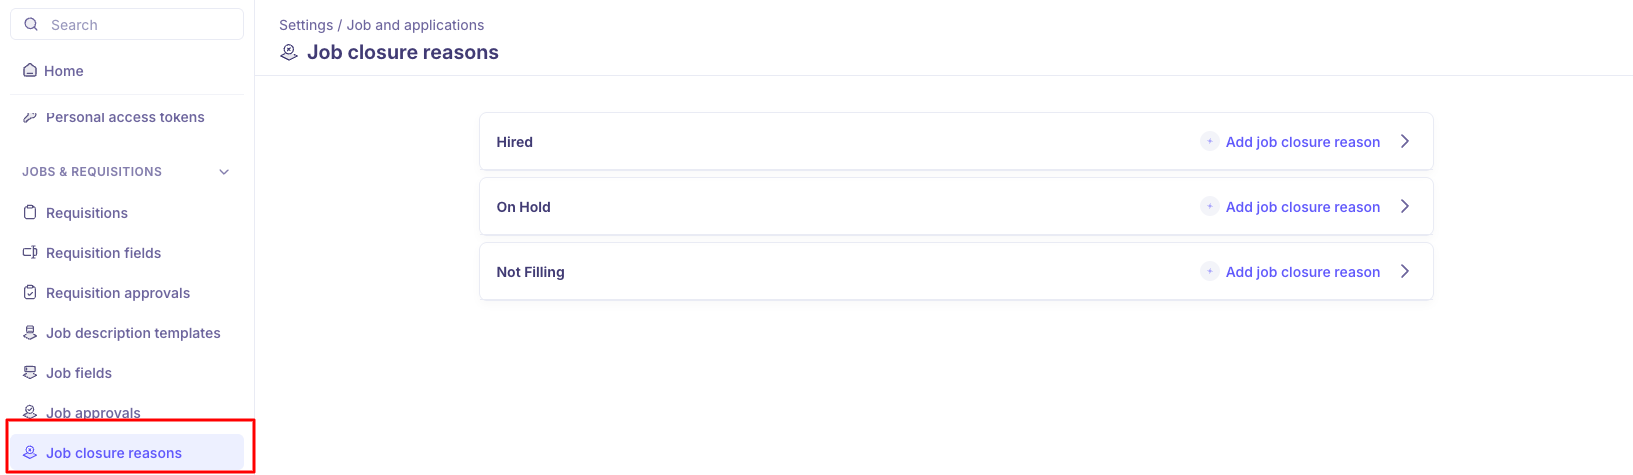
Add any custom Job fields, plus Job closure reasons and Compensation settings
Step 6 — Set up how candidates apply
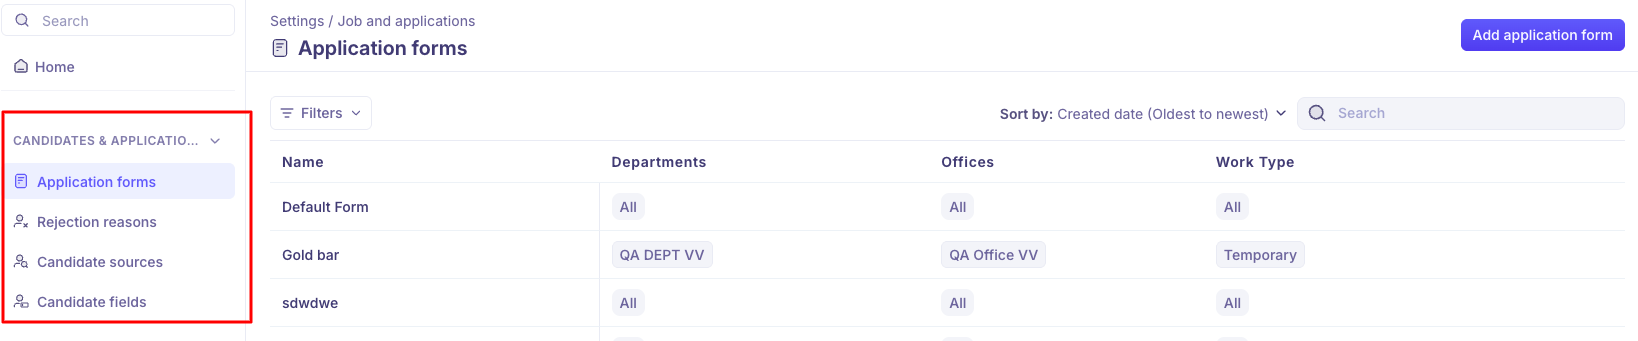
Two groups, done together — Candidates & Applications and Sourcing:
Build your Application forms — this is your candidate experience in careers page
Set up Rejection reasons and Candidate sources. These become the vocabulary of your reporting, so thin lists mean thin analytics
Configure Referrals — your employee referral settings and policy
Publishing to your career page and publishing to LinkedIn are separate actions. This catches out most teams.
Step 7 — Build your interview and offer process
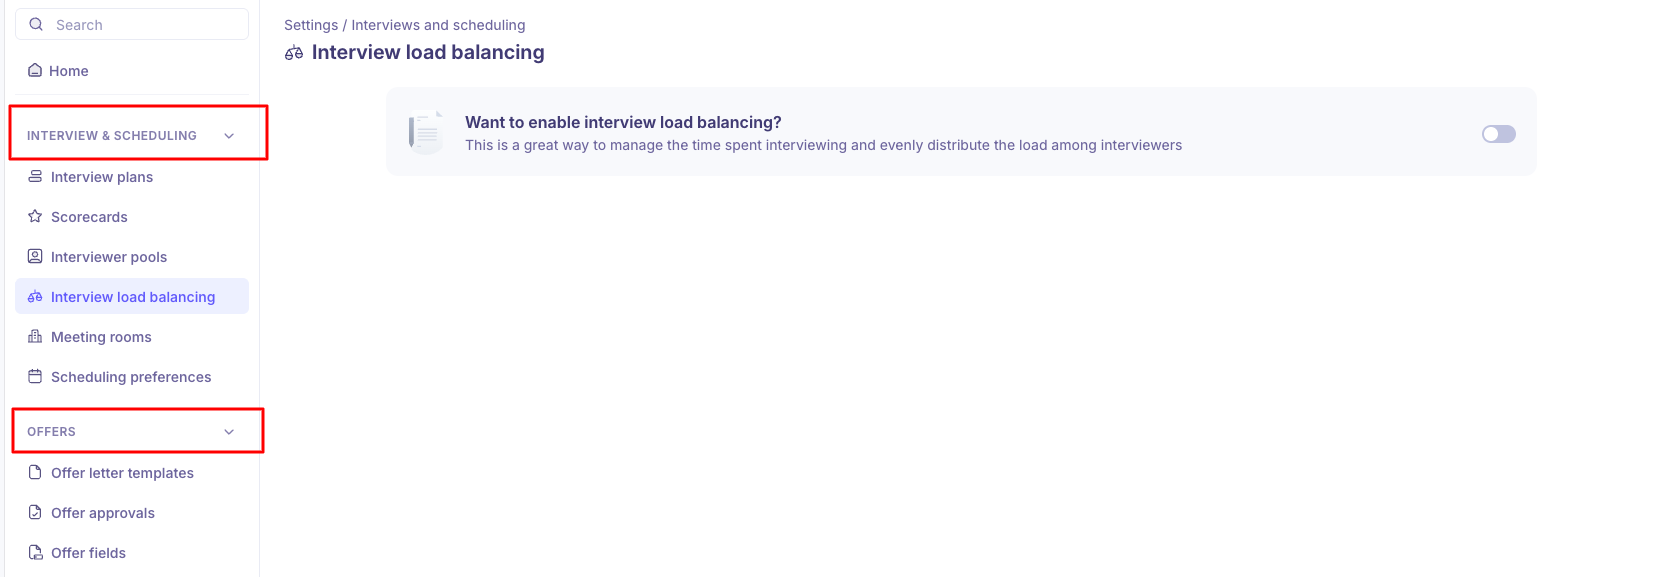
Whatever you set here becomes the default on every job your recruiters create. In Interview & Scheduling and Offers:
Create Interview plans, definable per department, office and work type
Create Scorecard templates, and choose your scorecard visibility setting
Set up Interviewer pools and Interview load balancing to spread interviewing evenly across your team
Build Offer fields before Offer letter templates — fields become the tokens in the letter
Configure Offer approvals
For e-signatures, connect Adobe Sign, DocuSign, PandaDoc or SpotDraft. See Setting up e-signature.
Scorecard visibility is worth a decision, not a default. Never, After they submit their own scorecard, or Always (without overall evaluation). See Scorecard visibility and permissions.
Approvers needn't be named people. Primary recruiter (on job) and Primary hiring manager (on job) resolve at approval time, so workflows survive reassignment.
Step 8 — Set up your career page
The candidate-facing side of everything you just configured. Decide how you want to host it first, because that choice shapes the rest.
How you host it | What candidates see | Choose this when |
|---|---|---|
Kula-hosted page | Your branded page at | You want to be live today, with no developer involved |
Embedded — job list only | Just your open roles, sitting inside your own site | You already have a careers page you're happy with and only need the roles on it |
Embedded — full page | The whole Kula page, branding and filters included, inside your own site | You want candidates to stay on your domain the whole way through |
Built on the job board APIs | Whatever your team builds | You have developer time and a careers site that has to match your brand exactly |
Two things worth knowing before you pick:
Your Kula-hosted URL is generated from your organization name and is read-only, so if it needs to change, come to us rather than looking for a setting.
Embedding uses an embed code plus an Allowed Domain, which keeps the embed working only on your own site. Job links inside the embed open in a new tab by default.
→ For the full walkthrough, see .
Step 9 — Set up your job boards
Your careers page is where candidates land. Job boards are how they find it. Everything here lives in Settings → Career page and Job boards → Job boards, and it splits three ways.
Route | What you get | What it costs |
|---|---|---|
Free job boards | LinkedIn, posted straight from Kula with no checkout and no marketplace | Free |
Job board contracts | Subscriptions you already hold — LinkedIn, Indeed, and niche or regional boards | Nothing extra; you're already paying the board |
Job board aggregators | VONQ and JobTarget, reaching over 30,000 boards between them | A mix of free and paid, depending on the board |
Posting is chosen job by job. There's no account-wide "always post to LinkedIn" default, so tell your recruiters this is a step they own on each job.
→ For the full setup, see
Step 10 — Turn on AI
Do this once your scorecards and interview plans are real — AI amplifies whatever you've configured. See for the details
Enable the AI notetaker for interview recording, transcripts and summaries
Switch on AI scorecard assistance for the account; recruiters then toggle it per interview
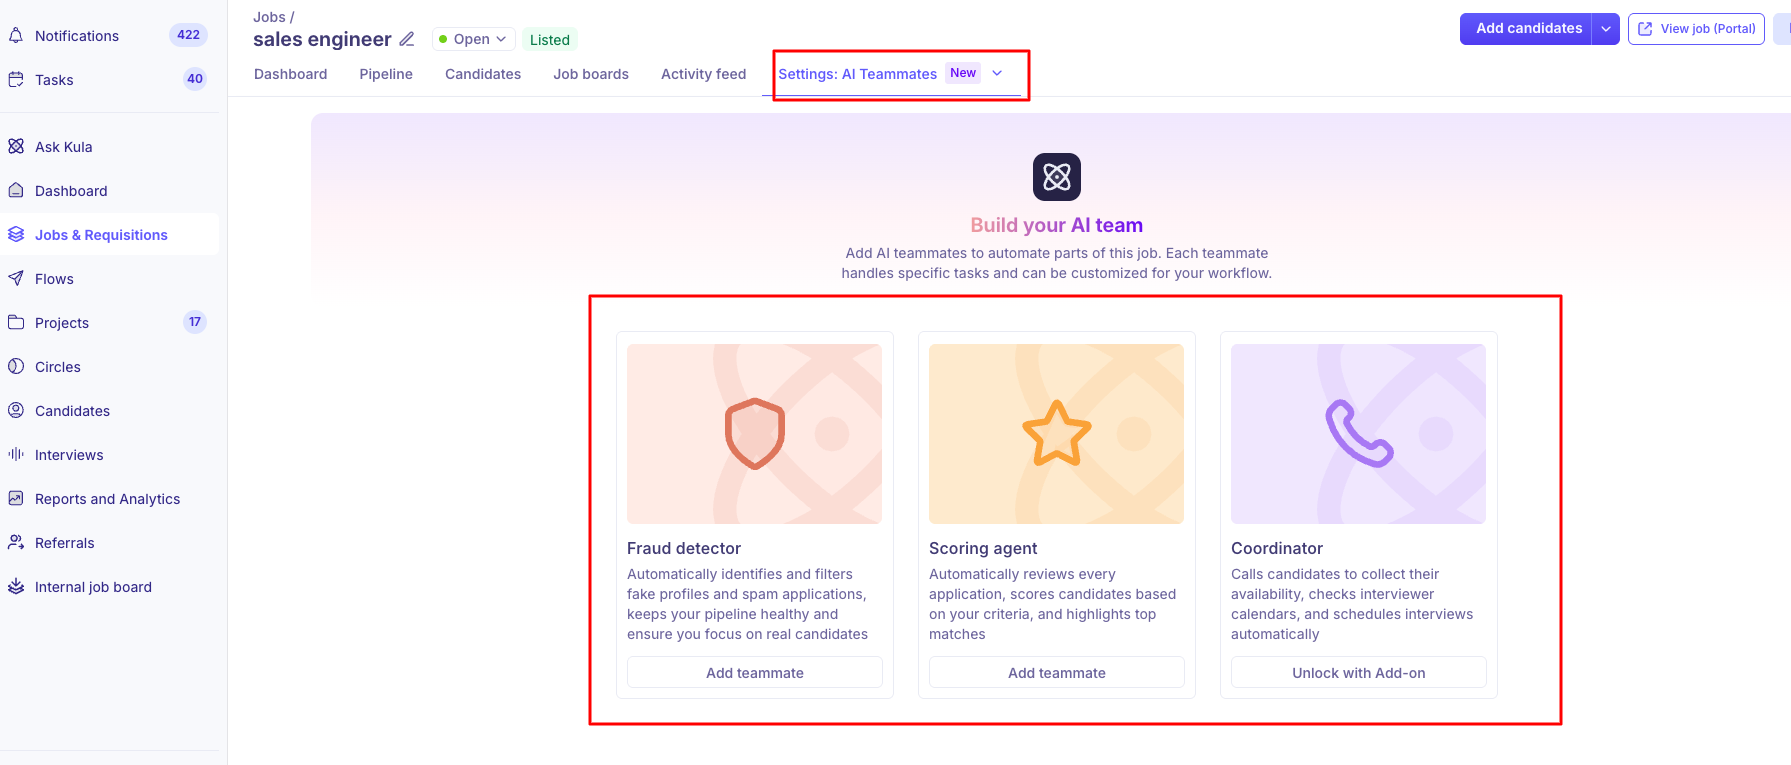
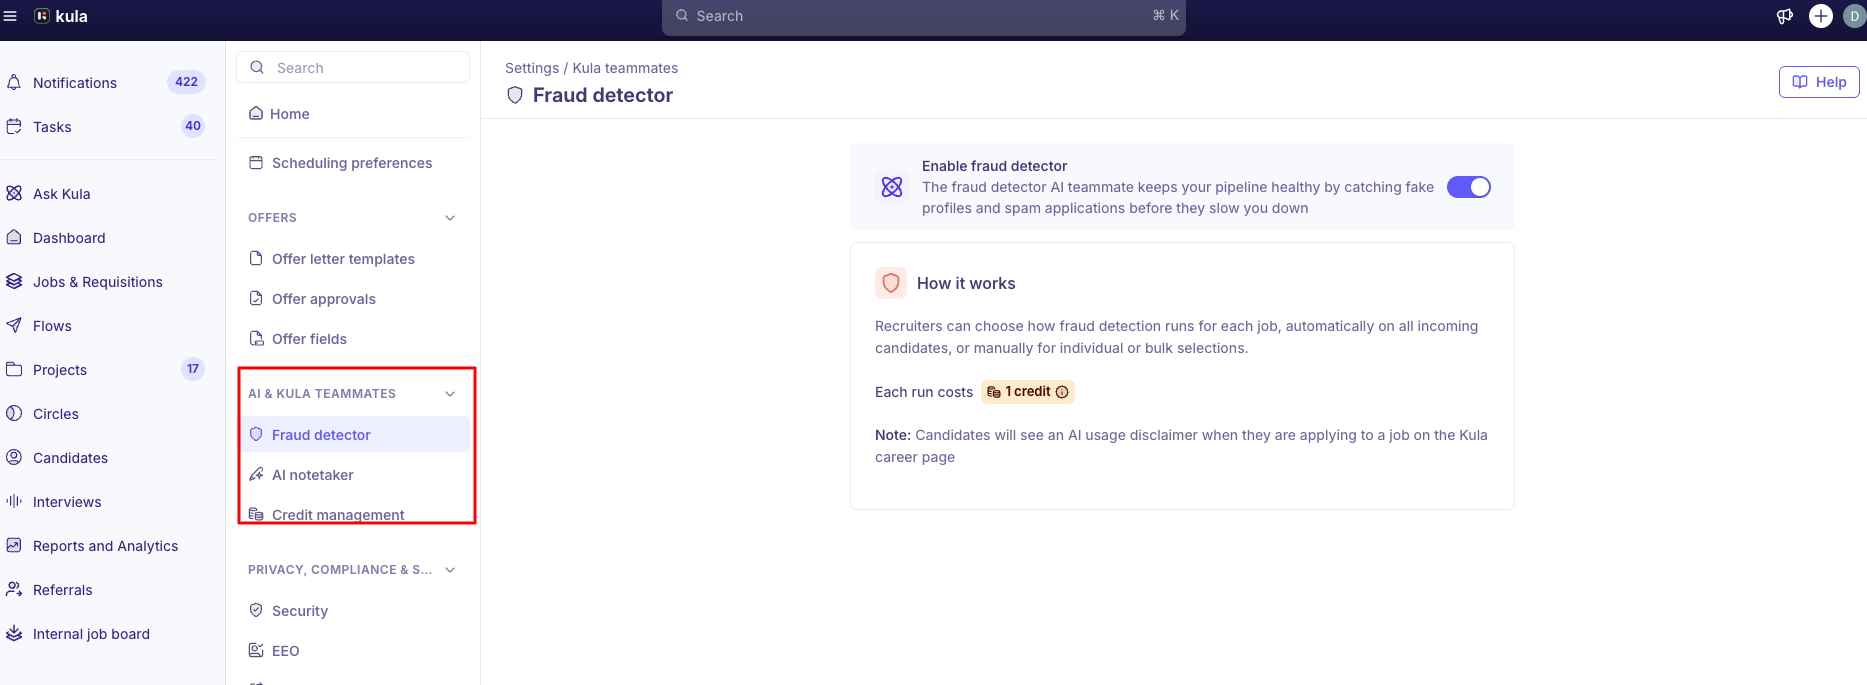
Per job, on the job's Settings → AI Teammates tab, your recruiters add the agents they want. Three are available:
Teammate
What it does
Availability
Scoring agent
Reviews every application, scores candidates against your criteria and highlights top matches. This is Kula's AI scoring
Included
Fraud detector
Identifies and filters fake profiles and spam applications, so the pipeline stays clean
Add-on
Coordinator
Calls candidates to collect availability, checks interviewer calendars and schedules interviews
Add-on
Add-ons show Unlock with Add-on rather than Add teammate. Clicking through opens a note to support, so tell your team that's the route rather than a self-serve toggle.
Step 11 — Lock down security and compliance
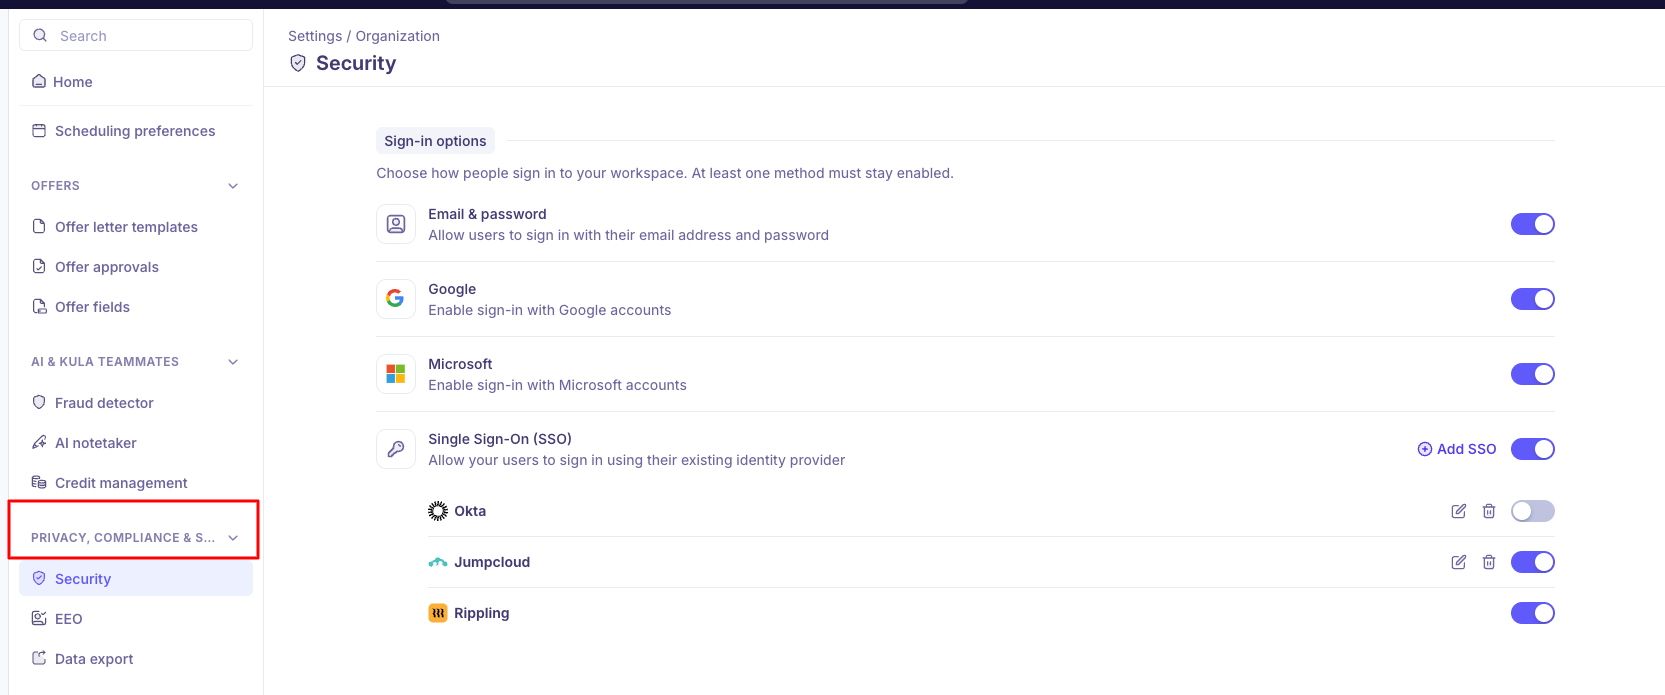
Configure SSO under Security (Super Admin) — Okta, JumpCloud, Google and custom SAML. Do this before a company-wide rollout
Enable EEO questions if you report on them (Super Admin)
Set up Data export for scheduled or on-demand exports
Open API management or Webhooks only if you're integrating Kula with your own systems (Super Admin)
Step 12 — Onboard your team
Your instance is ready. Bring people in a wave at a time rather than all at once — recruiters first, since they'll be creating the jobs everyone else reacts to, then hiring managers, then interviewers as real interviews get scheduled.
If you're adding more than a handful of people, send the list to us. There's no bulk user import in Kula, so send us the list.
What to send — one row per person with their full name, work email, role, department, office and reporting manager. A spreadsheet or CSV is fine. Create your departments and offices (Step 3) before you send it.
Tell us whether to send invitation emails. We can add everyone silently, and people simply sign in at your Kula URL — yourcompany.kula.ai — when you're ready for them. That's the cleaner option if you're on SSO, or if you'd rather your own announcement landed first.
If you do want invites, give us a date. Most go-lives want the invites landing alongside the launch comms, not three days ahead of them.
Send them the below guides for what they'll actually be doing:
Bring in | Their role in Kula | Send them |
|---|---|---|
Recruiters | Recruiter | |
Hiring managers | Hiring Manager | |
Interviewers | Organization Member | |
Agency and external partners | External Collaborator |
Step 13 — Check you're ready to hire
Run one test job end to end before you hand over — open it, apply from the careers page, schedule an interview, generate an offer. Most go-live problems surface in that single pass.
Good to know
Your own role is changed by another Super Admin or Admin — including if you are one.
Email addresses are fixed once an invitation is sent. To correct one, deactivate the user and add them again.
External Collaborators don't use a seat. Every other role does, including people still Pending.
Deactivating someone frees a seat immediately and keeps their notes and scorecards intact.
Confidential jobs and requisitions are Super Admin only.
Template changes apply to new jobs. Existing jobs keep the wording they were created with.
Job descriptions become read-only on Closed and Archived jobs.
On a trial account you can only invite people on your own email domain.
FAQ
Do I need to connect my own mailbox and calendar as an admin? Only if you'll schedule interviews, interview or email candidates yourself. Your organization's integrations in step 2 are a separate thing.
Can you add our team without sending invitation emails? Yes. Tell us when you send the list. We can add everyone silently, and people sign in at your Kula URL when you're ready.
Can I change our Kula-hosted career page address? Not from settings — it's generated from your organization name and is read-only. Contact us if it needs to change.
Do jobs post to LinkedIn automatically? No. Posting is chosen job by job, so your recruiters need to do it on each job.
Why can't I change my own role? Nobody can change their own role, even a Super Admin. Ask another Super Admin or Admin.
Need help? If you have questions or need assistance, reach out to us at support@kula.ai or use the in-app chat.